A First-Time Homeowner’s Guide to Opening an Inground Swimming Pool
Discover the Best Date, Detailed Steps, Equipment, and Tips for a Successful Pool Opening Experience
Introduction
Quick answer
A First-Time Homeowner’s Guide to Opening an Inground Swimming Pool: Discover the Best Date, Detailed Steps, Equipment, and Tips for a Successful Pool Opening Experience Introduction Owning an inground swimming pool can provide countless hours of relaxation and enjoyment. However.
Owning an inground swimming pool can provide countless hours of relaxation and enjoyment. However, opening the pool for the season can be a daunting task, especially for first-time homeowners. In this article, we will guide you through the process of opening your inground swimming pool, including the best date to open, detailed steps, necessary equipment, and helpful tips and tricks to ensure a smooth and successful pool opening experience.
Best Date to Open Your Inground Swimming Pool
The ideal date to open your inground swimming pool depends on your location and local climate. Generally, it is best to open your pool when daytime temperatures consistently stay above 70°F (21°C). This helps avoid cold water temperatures and increased energy costs, while also preventing algae growth and other contaminants from developing in the pool.
Detailed Steps for Opening Your Inground Swimming Pool
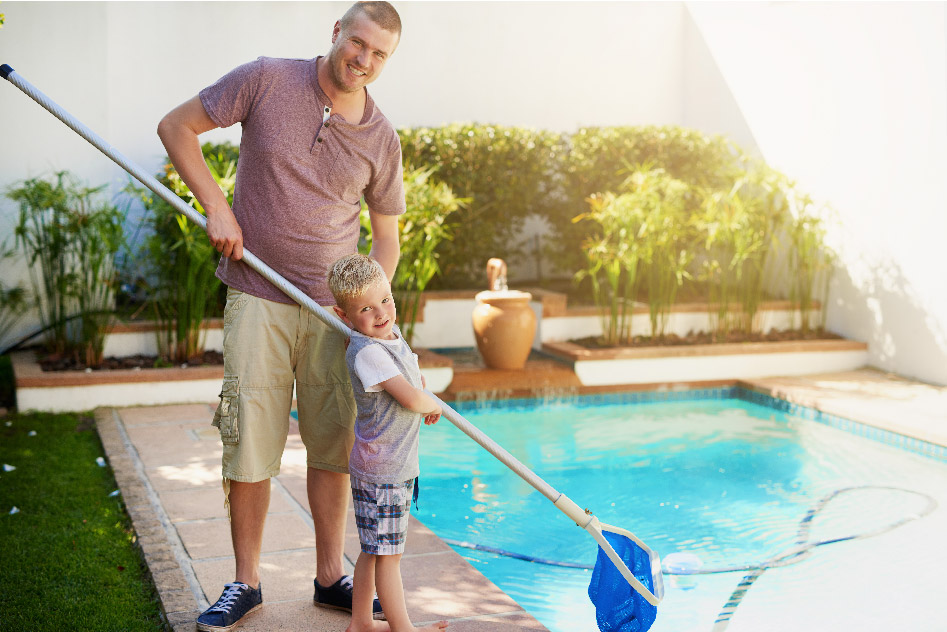
Step 1: Clean the Pool Area Begin by removing any leaves, debris, and trash from around your pool. This will help prevent dirt and debris from entering the water during the opening process.
Step 2: Remove the Pool Cover Carefully remove your winter pool cover, being mindful of any accumulated water or debris. Clean and dry the cover thoroughly before storing it for the off-season.
Step 3: Inspect the Pool for Damage Examine your pool for any signs of damage, such as cracks in the plaster, loose tiles, or damaged fittings. Address any issues before proceeding with the opening process.
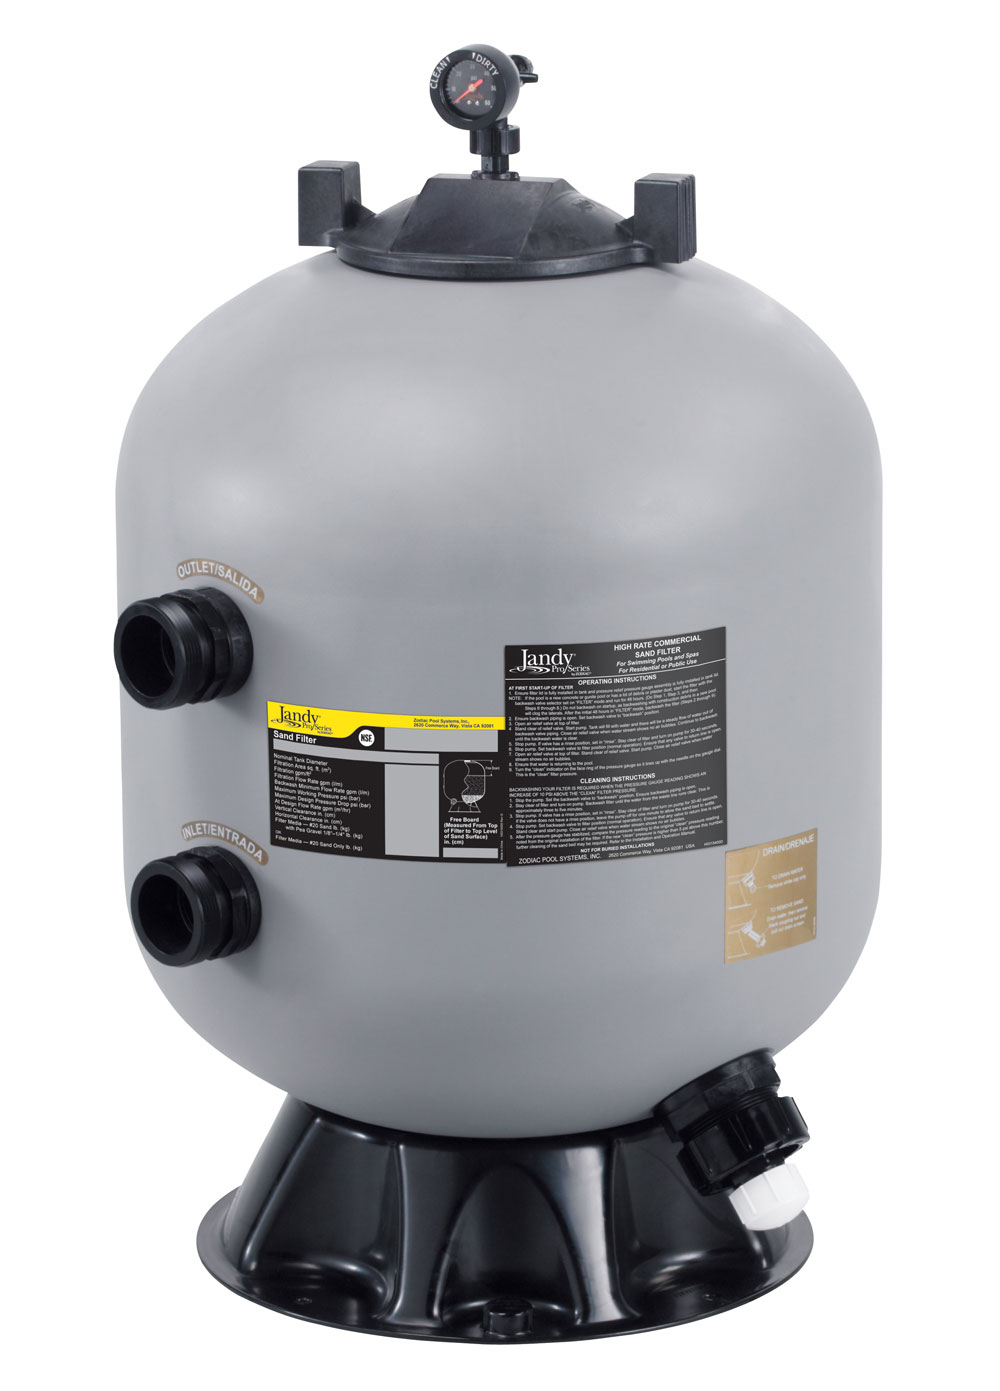
Step 4: Reinstall Pool Equipment Reinstall any pool equipment that was removed or winterized during the off-season, including ladders, handrails, skimmer baskets, filter, pump, and any other accessories.
Step 5: Fill the Pool Using a garden hose, fill your pool to the appropriate water level, typically halfway up the skimmer opening.
Step 6: Prime and Start the Pump Prime your pool pump by filling the pump basket with water and ensuring all valves are open. Turn on the pump and check for proper water flow and circulation.
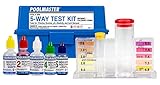
Step 7: Test and Balance the Water Chemistry Using a pool test kit or test strips, check the levels of pH, chlorine, total alkalinity, and calcium hardness in your pool water. Adjust the chemical levels as needed to achieve optimal balance:
- pH: 7.2-7.8
- Chlorine: 1-3 ppm (parts per million) for traditional chlorine pools or 2-4 ppm for saltwater pools
- Total Alkalinity: 80-120 ppm
- Calcium Hardness: 200-400 ppm
Step 8: Shock the Pool Shocking your pool involves adding a high dose of chlorine or other sanitizer to eliminate any bacteria, algae, and other contaminants that may have developed during the off-season. Follow the manufacturer’s instructions for the proper dosage and application procedure.
Step 9: Clean the Pool Skim the surface of your pool to remove any debris, brush the pool walls and floor, and vacuum the pool thoroughly to ensure a clean and inviting swimming environment.
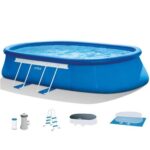
Necessary Equipment for Pool Opening
- Pool cover pump (if applicable)
- Leaf skimmer or pool net
- Pool brush
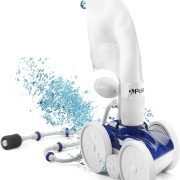
- Pool vacuum
- Garden hose
- Pool test kit or test strips
- Pool chemicals (pH adjusters, chlorine or alternative sanitizer, shock treatment, etc.)
- Pool opening supplies (lubricants, o-rings, etc., if needed)
Tips and Tricks for a Smooth Pool Opening
- Plan ahead: Set a date for your pool opening and gather all necessary supplies and equipment well in advance. This ensures you’re prepared and can avoid any last-minute surprises.
- Enlist help: Pool opening can be a time-consuming process. Recruit family members or friends to assist with tasks such as removing the pool cover and cleaning the pool area.
- Be patient: Allow the pool water to circulate for at least 24 hours before testing and adjusting the water chemistry. This will ensure accurate readings and more effective chemical adjustments.
- Keep a maintenance log: Document the chemical levels, equipment settings, and any issues encountered during the pool opening process. This information can be helpful for future reference and to track changes in your pool’s condition over time.
- Monitor water chemistry closely: In the first few weeks after opening your pool, test the water chemistry more frequently (every 2-3 days) to ensure proper balance and sanitization. As the season progresses and the water stabilizes, you can reduce testing frequency to once per week.
- Run the pump and filter longer initially: Running your pool pump and filter for longer periods (12-24 hours) immediately after opening your pool can help clear any cloudiness, debris, or contaminants more quickly.
- Consider a professional pool opening service: If you are unsure about the pool opening process or prefer to have an expert handle the task, many pool service companies offer pool opening packages that include equipment installation, water testing, and chemical balancing.
Conclusion
Opening an inground swimming pool for the first time may seem like a challenging task, but with proper planning and guidance, it can be a smooth and successful experience. By following the detailed steps outlined in this article, and applying the tips and tricks for a seamless pool opening, you can ensure a safe, clean, and enjoyable swimming environment for you and your family. Enjoy the benefits of your inground swimming pool all season long by taking the time to properly prepare and open it, setting the stage for endless hours of fun and relaxation.
Recommended Products
- Taylor K-2006 Complete Test Kit
- AquaChek 7-Way Test Strips
- In The Swim 3-Inch Chlorine Tablets
- In The Swim Chlorine Pool Shock
- Liquid Chlorine
- Clorox Pool&Spa pH Down
As an Amazon Associate, we earn from qualifying purchases.
As an Amazon Associate, Pool Chemical Calculator earns from qualifying purchases. Accurate readings make every chlorine, pH, alkalinity, calcium, and CYA dose safer. Slow-dissolving tablets help keep routine free chlorine steady. Raises calcium hardness to reduce corrosive water risk in plaster, concrete, and equipment.
Recommended pool supplies


Get exact pool chemical doses
Pool Chemical Calculator turns your test readings, pool volume, and target levels into exact treatment amounts for chlorine, pH, alkalinity, calcium, stabilizer, salt, and more.
Open the Pool Chemical Calculator app or download it from the App Store and Google Play.