A Complete Guide to Testing, Raising, and Lowering Pool pH Levels
Maintaining proper pH levels in your pool is crucial for ensuring water clarity, comfort, and safety. pH, which measures the acidity or alkalinity of the water, directly impacts the effectiveness of chlorine and other pool chemicals, as well as the overall swimming experience. In this comprehensive guide, we’ll walk you through the process of testing, raising, and lowering pool pH levels to help you achieve optimal water balance and enjoy a pristine swimming environment.
Quick answer
A Complete Guide to Testing, Raising, and Lowering Pool pH Levels: Maintaining proper pH levels in your pool is crucial for ensuring water clarity, comfort, and safety. pH, which measures the acidity or alkalinity of the water, directly impacts the effectiveness of chlorine and other.
Step 1: Testing Pool pH Levels
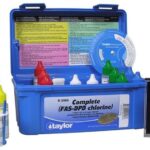
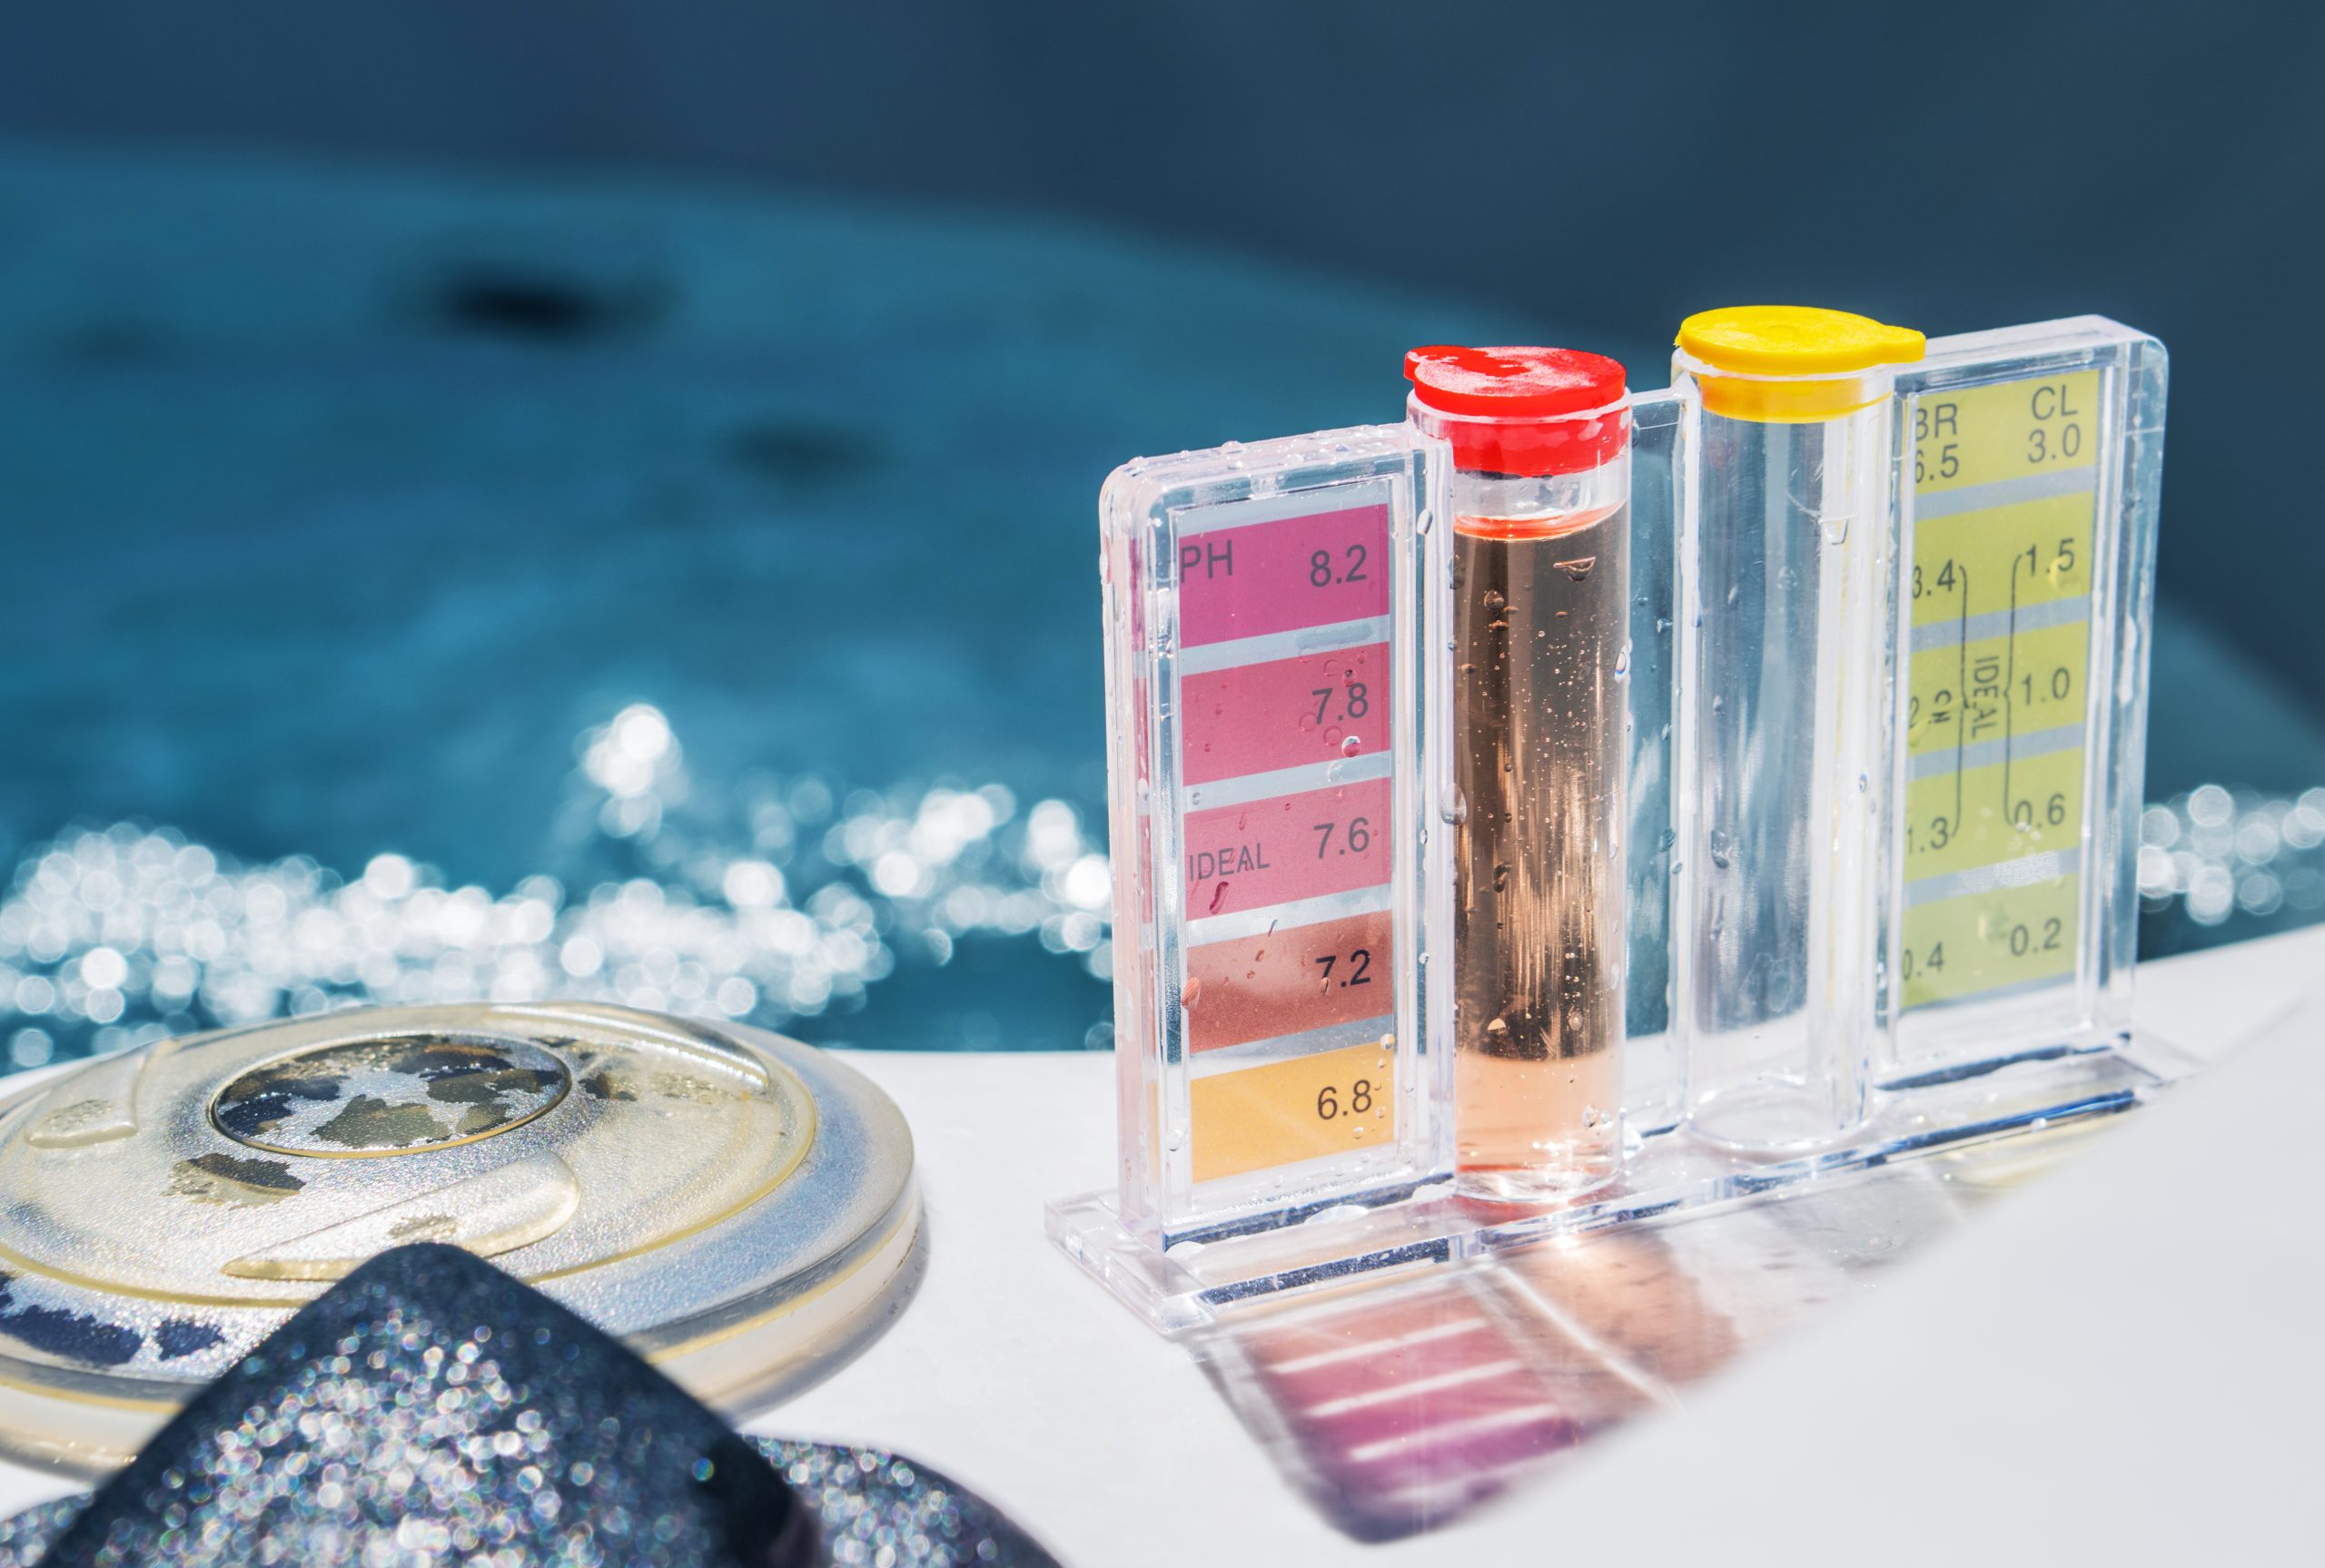
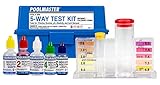
- Select a Reliable Test Kit: Choose a high-quality pool water test kit that includes pH testing reagents and a color comparator for accurate results.
- Collect a Water Sample: Use a clean container to collect a water sample from elbow depth in your pool, away from return jets and skimmers.
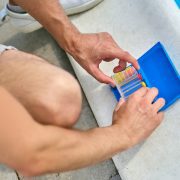
- Follow Test Kit Instructions: Follow the manufacturer’s instructions carefully to perform the pH test, adding the appropriate reagents and comparing the resulting color to the provided chart.
- Interpret Results: Determine the pH level of your pool water based on the color match obtained from the test. The ideal pH range for pool water is typically between 7.2 and 7.6.
Step 2: Raising Pool pH Levels
- Use Sodium Carbonate (Soda Ash): To raise pH levels in your pool, add sodium carbonate (soda ash) according to the manufacturer’s instructions. Start with a small amount and retest after several hours to avoid overcorrection.
- Broadcast Distribution: Broadcast the soda ash evenly across the pool surface, using a pool brush or skimmer to help disperse the chemical throughout the water.
- Circulate Water: Turn on your pool pump and circulation system to help distribute the soda ash and facilitate mixing with the pool water.
- Retest and Adjust: After allowing time for the soda ash to dissolve and mix thoroughly, retest the pool pH levels and adjust as needed until the desired pH range is achieved.

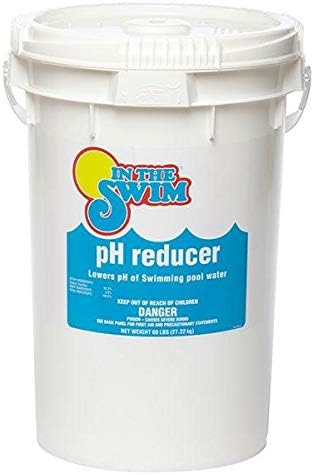
Step 3: Lowering Pool pH Levels
- Use Muriatic Acid: To lower pH levels in your pool, add muriatic acid (hydrochloric acid) according to the manufacturer’s instructions. Be sure to wear appropriate protective gear, including gloves and goggles, when handling acid.
- Add Acid Slowly: Carefully add the muriatic acid to the pool water in small increments, pouring it evenly around the pool perimeter to prevent localized areas of high acidity.
- Allow Mixing: Allow the acid to mix thoroughly with the pool water by running the pump and filtration system for several hours.
- Retest and Adjust: After giving the acid time to disperse and lower pH levels, retest the pool water and adjust as needed until the desired pH range is achieved.
Additional Tips for pH Maintenance:
- Regular Testing: Test pool pH levels weekly and after heavy pool usage or rainfall to ensure ongoing balance.
- Adjustments After Chemical Treatments: Make pH adjustments after adding other pool chemicals, as they can affect pH levels.
- Avoid Drastic Changes: Avoid making large pH adjustments at once, as this can lead to rapid pH swings and imbalances.
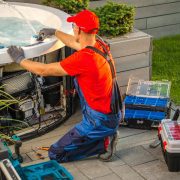
- Consult a Professional: If you’re unsure about how to adjust pool pH levels safely and effectively, consider consulting with a pool professional for guidance.
Conclusion:
Maintaining proper pH levels in your pool is essential for achieving clear, balanced water and ensuring a safe and enjoyable swimming environment. By following the steps outlined in this guide and testing, raising, or lowering pH levels as needed, you can effectively manage water chemistry and enjoy a pristine pool all season long. Remember to handle pool chemicals with care and always follow manufacturer instructions and safety precautions for best results.
Recommended Products
As an Amazon Associate, we earn from qualifying purchases.
- Clorox Pool&Spa pH Down (5 lbs) ($13) — Sodium bisulfate granules for safely lowering pool pH. Easy-to-use and dissolves quickly.
- Arm & Hammer Baking Soda (15 lbs) ($15) — Pure sodium bicarbonate — the same product pool stores sell as ‘alkalinity increaser’ at 3x the price. Raises alkalinity without significantly affecting pH.
- Taylor K-2006 Complete Pool Water Test Kit ($90) — The gold standard of pool test kits. Tests for free/combined chlorine, pH, alkalinity, calcium hardness, and CYA with professional-grade accuracy.
- AquaChek 7-Way Pool & Spa Test Strips (100 count) ($17) — Quick and easy 7-way test strips for chlorine, bromine, pH, alkalinity, hardness, and CYA. Great for daily spot checks between comprehensive testing.
- LaMotte ColorQ Pro 11 Digital Pool Water Test Kit ($225) — Digital photometer eliminates color-matching guesswork. Tests 11 parameters including phosphates. Perfect for pool owners who want lab-quality results.
???? Calculate Perfect Pool Chemistry Instantly
Stop guessing — use our free Pool Chemical Calculator to get exact dosing for your pool size.
As an Amazon Associate, Pool Chemical Calculator earns from qualifying purchases. Fast daily checks between full liquid tests, especially during heavy swim season. Accurate readings make every chlorine, pH, alkalinity, calcium, and CYA dose safer. Raises total alkalinity so pH is less likely to bounce around after treatment.
Recommended pool supplies

Get exact pool chemical doses
Pool Chemical Calculator turns your test readings, pool volume, and target levels into exact treatment amounts for chlorine, pH, alkalinity, calcium, stabilizer, salt, and more.
Open the Pool Chemical Calculator app or download it from the App Store and Google Play.