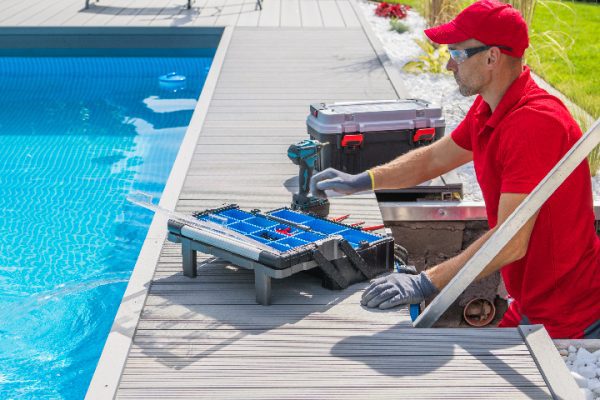
A sand filter is an essential component of many pool filtration systems, working to remove debris and contaminants from the water to keep it clean and safe for swimmers. Over time, the sand in the filter becomes saturated with impurities and loses its effectiveness, requiring replacement. In this article, we will provide a step-by-step guide for DIY homeowners on how to change the sand in a sand filter, ensuring your pool stays clean and clear all season long.
Step 1: Gather the necessary tools and materials
Before beginning the process, gather the necessary tools and materials to change the sand in your sand filter. These may include:
- Replacement sand: Use only pool filter sand specifically designed for use in sand filters.
- A large container or wheelbarrow: To dispose of the old sand.
- A shop vacuum or small bucket: To help remove the sand from the filter.
- A hose and water source: To rinse the filter.
- A wrench, screwdriver, or pliers: To open the filter and remove components.
- New filter O-rings or gaskets: To replace any worn or damaged seals.
Step 2: Turn off the pool pump and filter system
Before opening the sand filter, ensure the pool pump and filter system are turned off. Disconnect the power supply and close any valves connected to the filter to prevent water flow during the sand replacement process.
Step 3: Remove the filter’s top or multiport valve
Consult your filter’s manual to determine the proper method for opening your sand filter. This may involve removing the filter’s top or disconnecting the multiport valve. Use a wrench, screwdriver, or pliers as needed to loosen and remove any fasteners or fittings.
Step 4: Remove the old sand
Using a shop vacuum or a small bucket, carefully remove the old sand from the filter tank. Take care not to damage any internal components, such as the laterals or central standpipe. Dispose of the old sand in a large container or wheelbarrow, following local regulations for disposal.
Step 5: Inspect and clean the filter components
Inspect the filter’s internal components, such as the laterals and central standpipe, for any signs of damage or wear. Replace any damaged parts as necessary. Use a hose to rinse the filter tank and components, removing any remaining sand or debris.
Step 6: Add the new sand
Before adding the new sand, cover the central standpipe with a plastic bag or cap to prevent sand from entering the pipe. Pour the new pool filter sand into the filter tank, taking care to distribute it evenly around the laterals. Fill the tank to the manufacturer’s recommended level, usually about halfway to two-thirds full.
Step 7: Reassemble the filter
Once the new sand has been added, reassemble the filter by reinstalling the filter top or multiport valve. Replace any worn or damaged O-rings or gaskets, and ensure all fittings are securely tightened to prevent leaks.
Step 8: Backwash the new sand
With the filter reassembled, open the necessary valves and turn the multiport valve to the “Backwash” setting. Turn on the pool pump and allow the water to flow through the filter for several minutes, flushing out any dust or fine particles from the new sand. Turn off the pump and return the multiport valve to the “Filter” setting.
Step 9: Restart the pool filtration system
With the sand replacement complete, restart the pool filtration system by reconnecting the power supply and opening any closed valves. Monitor the filter for any leaks or performance issues, addressing any problems as necessary.
Changing the sand in your pool’s sand filter is a straightforward DIY task that can help ensure the continued efficiency and effectiveness of your pool’s filtration system. By following this step-by-step guide, you can successfully replace the sand in your filter and maintain a clean, clear swimming environment for you and your loved ones. Be sure to consult your filter’s manual and seek professional advice if you encounter any difficulties or have questions about the sand replacement process. Regular pool maintenance, including periodically changing the sand in your sand filter, will help prolong the life of your pool equipment and provide an enjoyable swimming experience all season long.
