Pool Calcium Hardness: The Complete Guide to Perfect Water Balance
Learn everything about pool calcium hardness - ideal levels, how to test, raise, and lower calcium, plus common problems and prevention. Protect your pool from corrosion and scaling.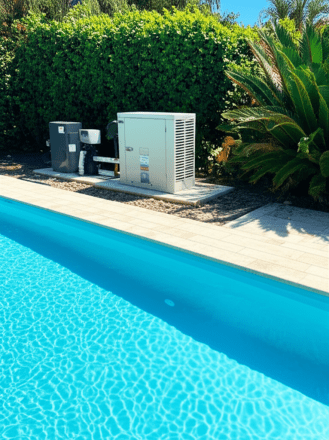
Salt Water Pool Maintenance: Complete Guide for Crystal-Clear Water
## How Salt Water Pools Actually Work Salt water pools contain chlorine. They generate it automatically instead of requiring manual addition. Here’s the process: **Step 1: Salt in the Water**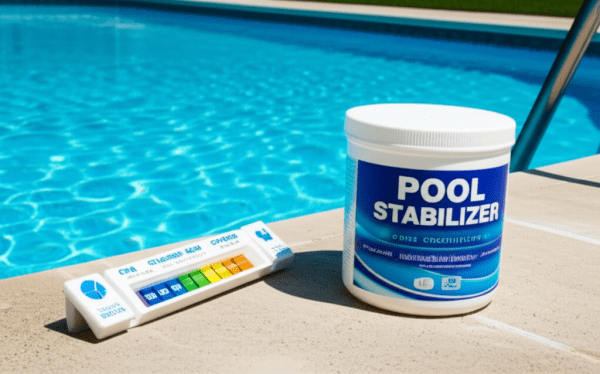
Pool Stabilizer (Cyanuric Acid): The Complete Guide to Protecting Your Chlorine
What Is Cyanuric Acid? Cyanuric acid (CYA) is a chemical compound with the formula C₃H₃N₃O₃. In pools, it does one job: it protects chlorine from UV degradation. When CYA is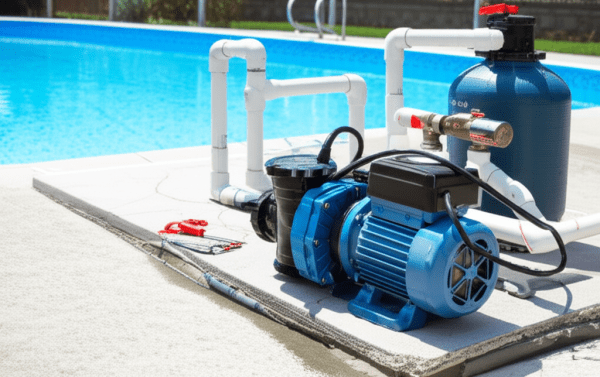
Pool Pump Repair: DIY Troubleshooting and Fixes for Common Problems
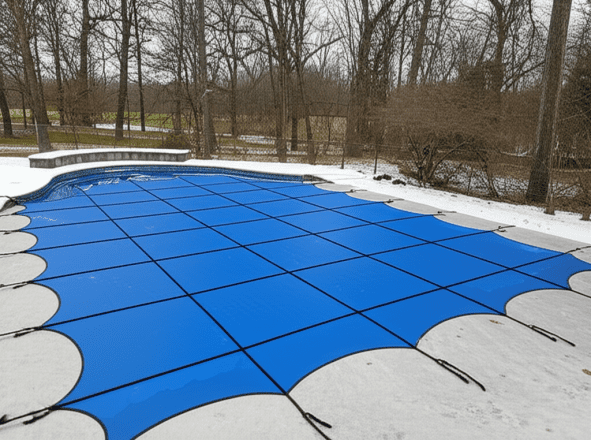
# Pool Pump Repair: DIY Troubleshooting and Fixes for Common Problems **Meta Description:** Learn how to diagnose and repair common pool pump problems. No prime, loud noises, leaks, low pressure,Get Your Pool Ready for Spring: Essential Pre-Season Chemical Balancing Tips
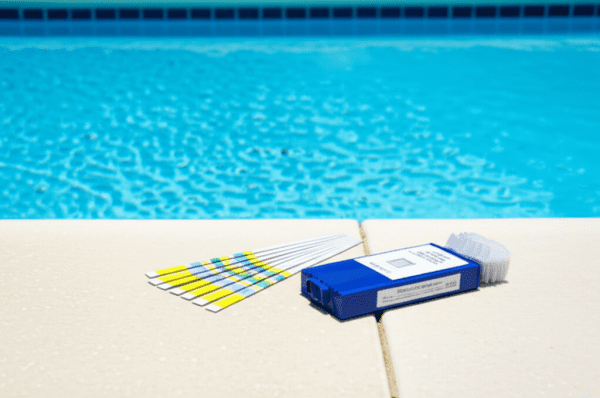
Pro Tips for Commercial Operators & Busy Homeowners Test Regularly: Don’t guess! Use reliable test strips or a liquid test kit. Log Your Readings: Keep a consistent record to track
How to Lower CYA Levels: The Ultimate Guide to Fixing Over-Stabilization
If you’ve been following our 2025 guide to pool chemistry, you know that Cyanuric Acid (CYA) is basically “sunscreen” for your chlorine. It’s essential for protecting your sanitizer from being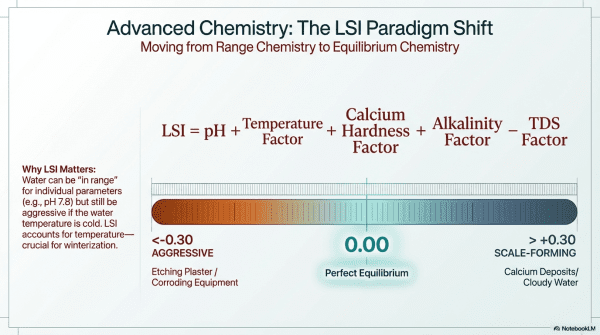
The LSI Calculator Guide: Protecting Your Pool Surface from the Inside Out
In our previous deep dives into pool chemistry, we covered the “Big Three”—pH, Chlorine, and Alkalinity. But if you really want to graduate from “pool owner” to “water master,” there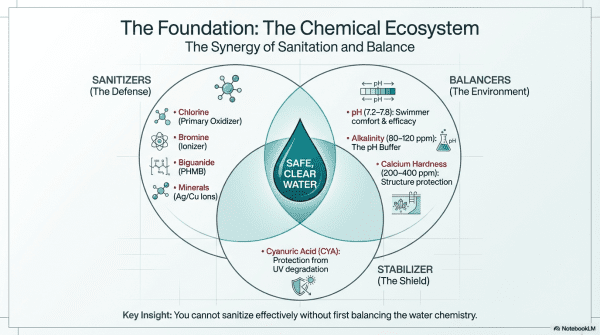
Mastering Pool Chemistry: The Ultimate 2026 Guide to Perfect Water Balance
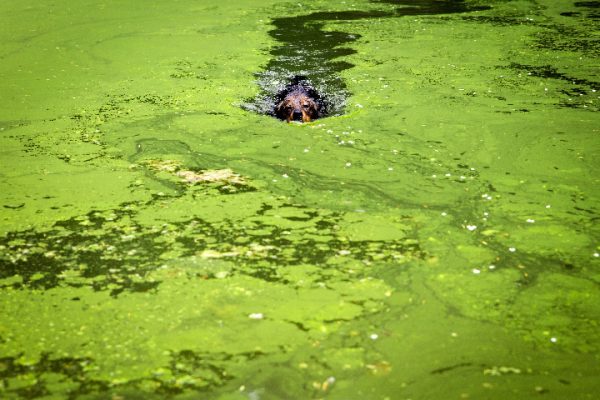
Have you ever pulled off the pool cover only to find a cloudy, green mess staring back at you? Or perhaps you’ve spent a fortune on chemicals, yet the water