A Step-by-Step Guide to Cleaning Your Home Swimming Pool Cartridge Filter
Maximize Your Cartridge Filter’s Efficiency and Keep Your Pool Crystal Clear
Quick answer
A Step-by-Step Guide to Cleaning Your Home Swimming Pool Cartridge Filter: Maximize Your Cartridge Filter’s Efficiency and Keep Your Pool Crystal Clear Introduction Cartridge filters are a popular choice for home swimming pool owners due to their ease of use and low maintenance requirements.
Introduction
Cartridge filters are a popular choice for home swimming pool owners due to their ease of use and low maintenance requirements. However, proper cleaning is essential to ensure the filter performs at its best, maintaining water clarity and preventing potential issues. This article will guide you through the process of cleaning your home swimming pool cartridge filter and offer essential tips for optimal performance.
Understanding Cartridge Filters
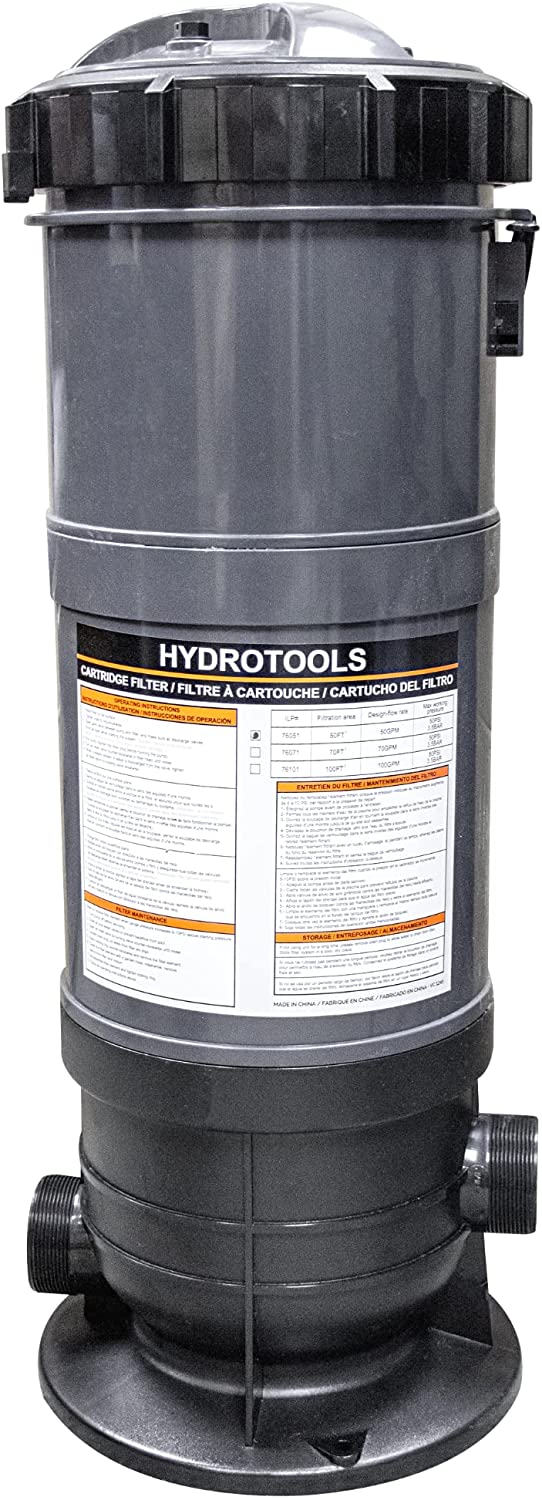
A cartridge filter works by using a pleated polyester or paper filter element to capture debris and impurities as water passes through it. Over time, the accumulated debris can reduce water flow and impact the filter’s efficiency. Regular cleaning is necessary to maintain the filter’s performance and prolong its lifespan.
How to Clean Your Swimming Pool Cartridge Filter
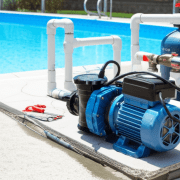
Step 1: Turn Off the Pool Pump Before starting the cleaning process, ensure the pool pump is turned off. This is crucial for your safety and to prevent damage to the pump.
Step 2: Open the Filter Housing Consult your filter’s manual for specific instructions on opening the filter housing. Typically, this involves removing a clamp or band that holds the two halves of the filter housing together. Be prepared for some water to spill out when opening the filter housing.
Step 3: Remove the Cartridge Carefully lift the cartridge out of the filter housing. Inspect the cartridge for any signs of damage, such as tears or excessive wear. If you notice any issues, it’s time to replace the cartridge.
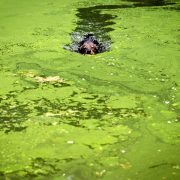
Step 4: Clean the Cartridge Using a garden hose with a high-pressure nozzle, thoroughly rinse the cartridge from top to bottom, working from the inside out. Be sure to clean between the pleats to remove any trapped debris. For stubborn dirt or algae, use a soft-bristle brush to gently scrub the pleats.
Step 5: Inspect the Filter Housing With the cartridge removed, inspect the filter housing for any debris or damage. Clean the housing with a sponge or cloth, if necessary.
Step 6: Reinstall the Cartridge Place the clean cartridge back into the filter housing, ensuring it is properly seated. Double-check that the cartridge is correctly positioned before proceeding.
Step 7: Close the Filter Housing Reassemble the filter housing by securing the clamp or band that holds the two halves together. Make sure the housing is properly sealed to prevent water leaks.
Step 8: Turn On the Pool Pump With the cartridge filter reassembled, turn the pool pump back on and check for any leaks around the filter housing. The filter is now clean and ready to function at peak efficiency.
Tips for Cartridge Filter Maintenance
- Cleaning Frequency: Clean your cartridge filter every 4-6 weeks or when the pressure gauge reads 8-10 psi above the normal operating pressure.
- Replace the Cartridge: Depending on usage and maintenance, cartridge filters typically last between 1-3 years. Inspect the cartridge during cleaning and replace it if you notice any damage or excessive wear.
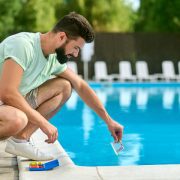
- Maintain Proper Pool Chemistry: Balanced pool water chemistry will help prolong the life of your cartridge filter and keep your pool water clear and safe.
Conclusion
Cleaning your swimming pool cartridge filter is an essential part of maintaining a healthy and clear pool. By following the steps outlined in this guide, you can ensure your cartridge filter performs at its best, providing clean and safe water for you and your family to enjoy. Regular maintenance, along with proper pool chemistry, will prolong the life of your pool equipment and help you avoid costly repairs or replacements in the future. Keep your pool sparkling clean and ready for fun by taking care of your cartridge filter and staying on top of your
As an Amazon Associate, Pool Chemical Calculator earns from qualifying purchases. Accurate readings make every chlorine, pH, alkalinity, calcium, and CYA dose safer. Raises free chlorine quickly without adding stabilizer, which is useful when CYA is already high. Useful for algae cleanup, cloudy water, high bather load, and weekly oxidation routines.
Recommended pool supplies


Get exact pool chemical doses
Pool Chemical Calculator turns your test readings, pool volume, and target levels into exact treatment amounts for chlorine, pH, alkalinity, calcium, stabilizer, salt, and more.
Open the Pool Chemical Calculator app or download it from the App Store and Google Play.