How Long Does Pool Clarifier Take to Work? (What to Expect)
You poured clarifier into your pool last night and you're staring at the water this morning wondering why it still looks like skim milk. Totally normal.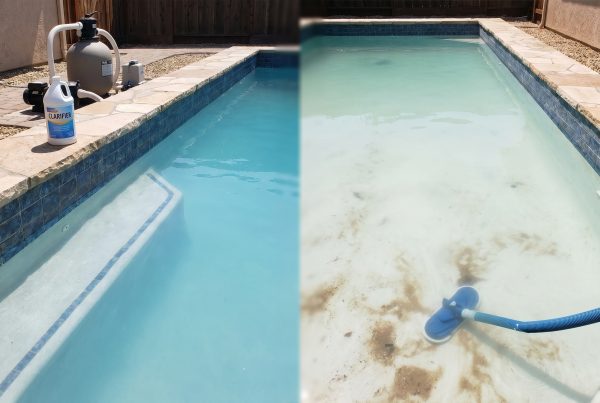
Pool Flocculant vs Clarifier: Which One Should You Use?
–|———–|————| Quick answer Pool Flocculant vs Clarifier: Which One Should You Use?: –|———–|————| | Time to clear water | 48-72+ hours | 12-24 hours | |.
Pool Water Still Cloudy After Shock and Flocculant? Here’s What to Do Next
Quick answer Pool Water Still Cloudy After Shock and Flocculant? Here’s What to Do Next: You did everything right — or so you thought. You shocked your.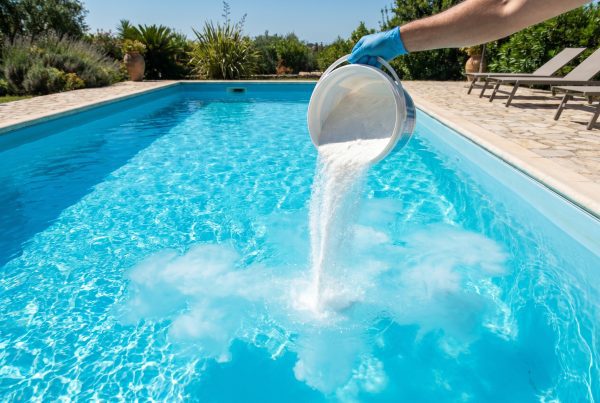
Pool Shock Not Working? Here’s Why and How to Fix It
You shocked your pool. You waited. And your water still looks cloudy, green, or the chlorine reading barely moved. Sound familiar? Quick answer Pool.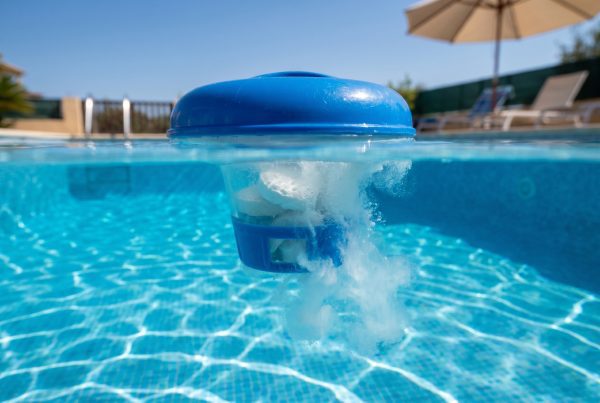
Pool Chlorine Tablets Not Dissolving? Here’s How to Fix It Fast
Quick answer Pool Chlorine Tablets Not Dissolving? Here’s How to Fix It Fast: FAQ How long should a 3-inch chlorine tablet last? Under normal conditions.Pool Cyanuric Acid Too Low: How to Fix It and Protect Your Chlorine
If your pool chlorine keeps disappearing even though you’re dosing it regularly, low cyanuric acid is almost certainly the culprit. Cyanuric acid (CYA) —.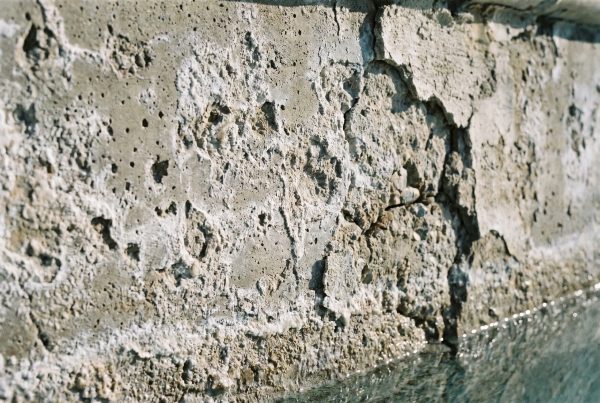
Pool Calcium Hardness Too Low: How to Fix It Before It Damages Your Pool
If your pool calcium hardness too low reading has you concerned, you’re right to act fast. Low calcium doesn’t just make your water “soft” — it makes.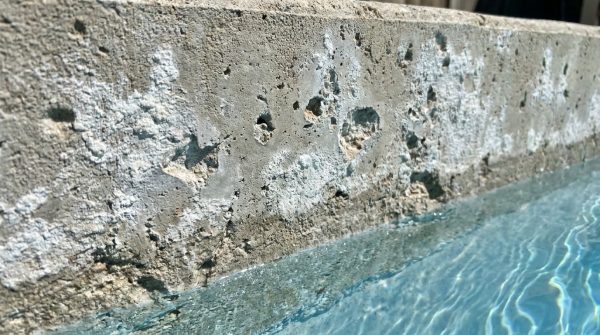
Pool Calcium Hardness Too Low: How to Fix It Before It Damages Your Pool
If your pool calcium hardness is too low, your water is slowly dissolving your pool from the inside out. Sounds dramatic, but it’s true — water with low.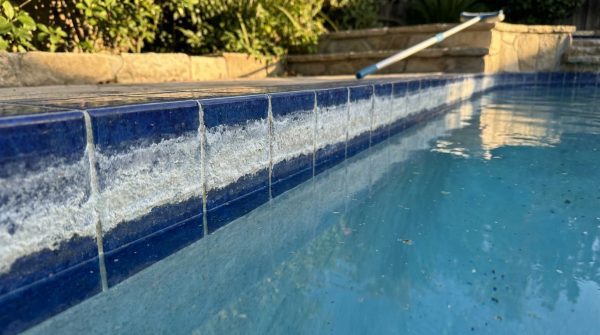
Pool Calcium Hardness Too High? Here’s How to Fix It Without Draining Your Pool
You tested your water, and now you’re staring at a calcium hardness reading that’s way above the recommended range. Maybe it’s 500 ppm. Maybe it’s 800.
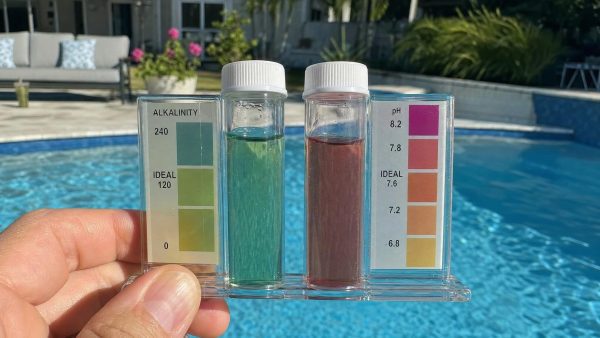
Pool Alkalinity Low But pH High: Why It Happens and How to Fix It
You test your pool water expecting one problem, and you find two — your alkalinity sits below 80 ppm while your pH is reading 7.8 or higher. That.