Pool Chlorine High But Water Is Still Green: Why It Happens and How to Fix It
Your test strip says chlorine is fine — or even high — but your pool water is still green. Before you dump another bag of shock in and hope for
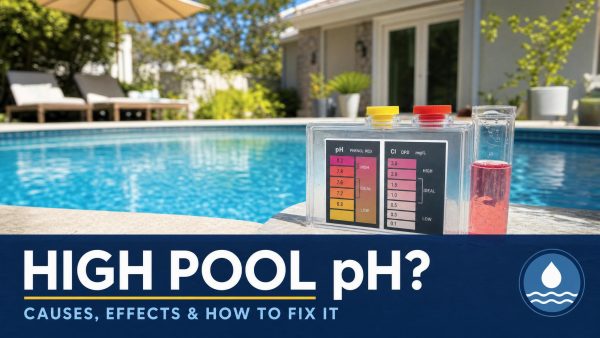
Pool Water Cloudy But Chemicals Are Balanced: Here’s Why (And How to Fix It)
Pool Water Cloudy But Chemicals Are Balanced? Here’s What’s Actually Going On You’ve tested your water three times. Chlorine sits at 2.5 ppm. pH reads a.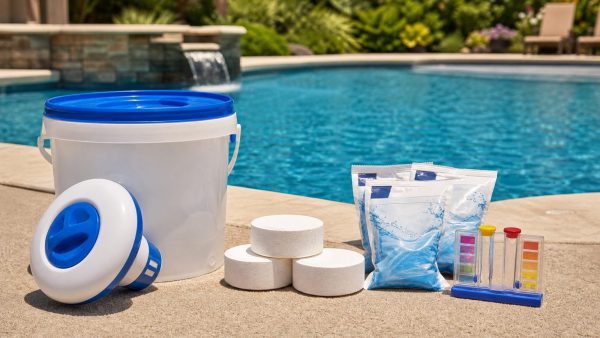
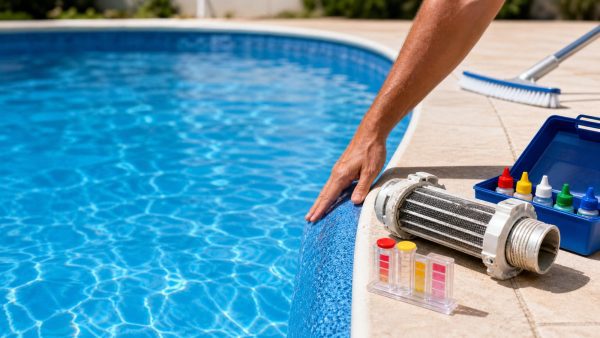
Pool Shock vs Chlorine Tablets: What to Use and When
You’ve probably stood in the pool supply aisle staring at bags of shock and buckets of chlorine tablets, wondering if you really need both. Here’s the.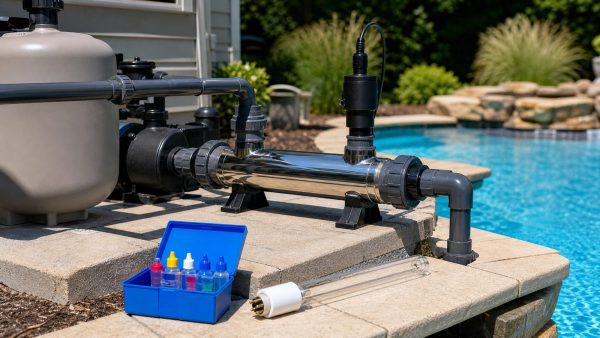
UV Pool Sanitizer Worth It? Pros, Cons, Costs, and Chlorine Reality
You’ve probably heard pool store employees or that neighbor with the pristine water mention UV sanitizers. Maybe you’ve seen them online, promising.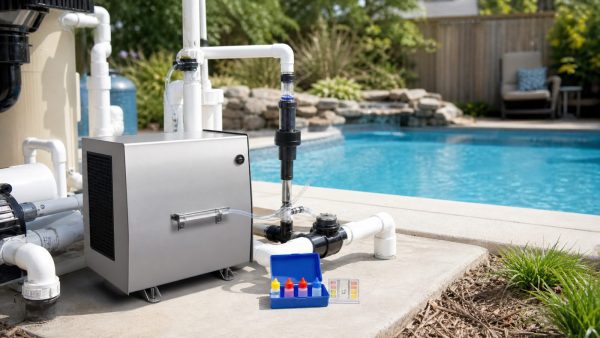
Ozone Pool System Pros and Cons: Is Ozone Worth It?
You’ve probably heard whispers at neighborhood pool parties about ozone systems. Maybe a friend mentioned their pool water feels “silky” now, or you’ve.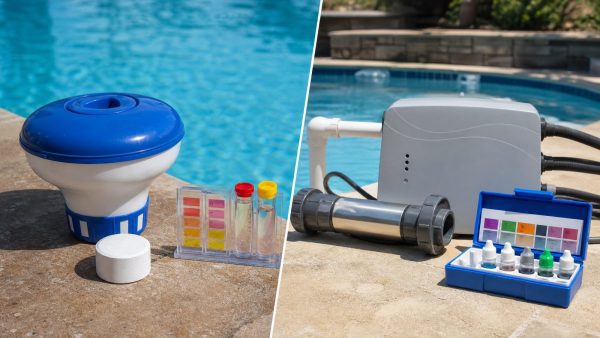
Pool Ionizer vs Chlorine: Which Sanitizer Setup Makes Sense?
If you’re tired of red eyes, bleached swimsuits, and that unmistakable chlorine smell clinging to your skin, you’ve probably wondered about alternatives.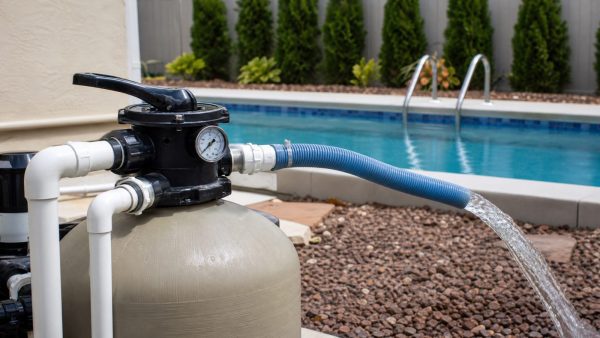
How to Backwash Pool Filter: Step-by-Step Sand and DE Filter Guide
That cloudy water and sluggish pump aren’t mysteries. Your pool filter is probably clogged with weeks of trapped debris, sunscreen residue, and.
Pool Cloudy After Algae Treatment: Why It Happens and How to Clear It
You finally killed that algae bloom. The green slime is gone, the walls aren’t slimy anymore, and you’re ready to swim. But wait — your pool cloudy after.
Pool Water Level Keeps Dropping: Leak or Evaporation?
You filled your pool yesterday. Today, it looks low again. Sound familiar? Quick answer Pool Water Level Keeps Dropping: Leak or Evaporation?: You filled.
Pool Surface Feels Rough Like Sandpaper: Causes and Fixes
Acid safety: Always add acid to water, never water to acid. Wear eye protection and chemical-resistant gloves, keep acid away from chlorine products, and.