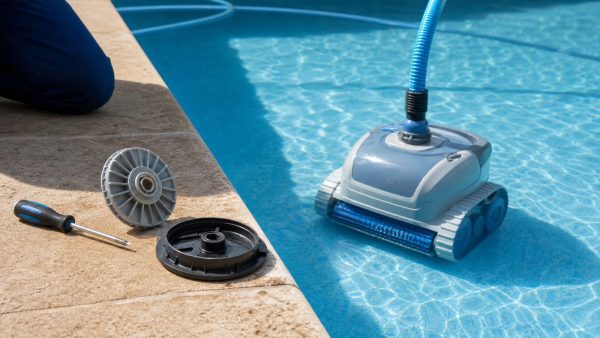
Pool Vacuum Won’t Move: Why It Happens and How to Fix It
You’ve plugged in your automatic pool cleaner, dropped it in the water, and… nothing. It just sits there like an expensive paperweight at the bottom of.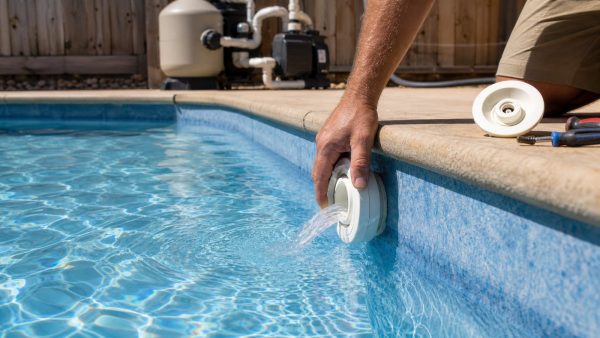
Pool Return Jets Not Working: Causes, Fixes, and Flow Troubleshooting
You’re standing by your pool, staring at the return jets, and… nothing. No water flow. Maybe a weak trickle. Or perhaps one jet works fine while the.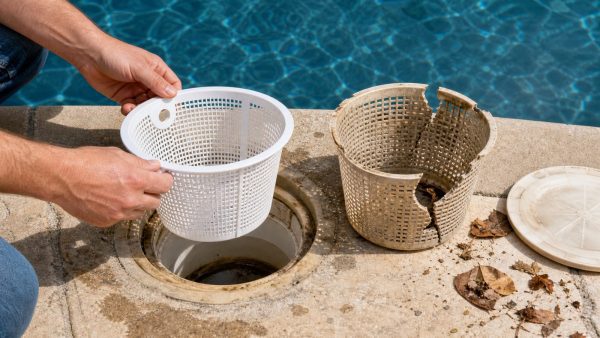
Pool Skimmer Basket Replacement: How to Choose and Install the Right Basket
That cracked, warped, or broken skimmer basket sitting in your pool deck isn’t just an eyesore — it’s actively sabotaging your filtration system. Every.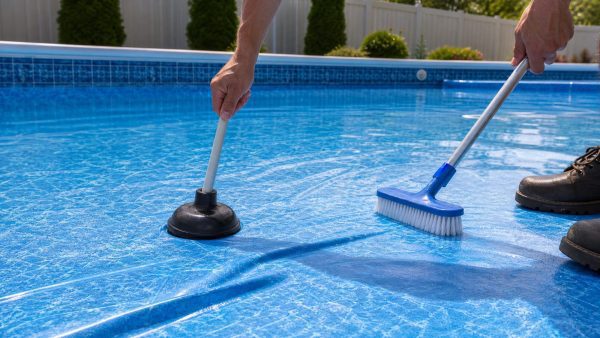
Pool Liner Wrinkles: How to Fix Them Without Damaging the Vinyl
Nothing kills the joy of owning a pool faster than looking down and seeing ugly wrinkles snaking across your vinyl liner. Pool liner wrinkles aren’t just.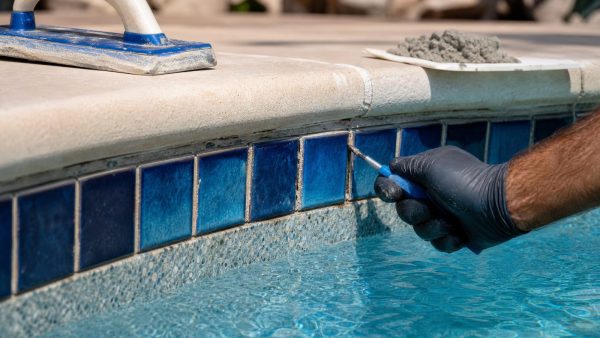
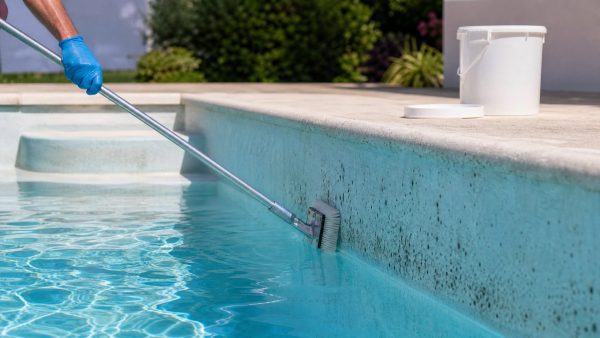
Pool Tile Grout Repair: How to Fix Cracked or Missing Grout
That white, crumbly stuff falling off your pool walls isn’t just an eyesore—it’s a warning sign. Pool tile grout repair is one of those maintenance tasks.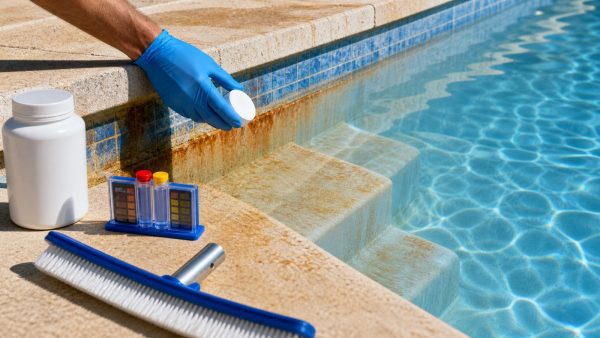
Pool Metal Stain Removal: How to Remove Iron, Copper, and Manganese Stains
You noticed it last weekend — an ugly brown splotch on your pool’s plaster that wasn’t there before. Or maybe it’s a greenish-blue streak near your.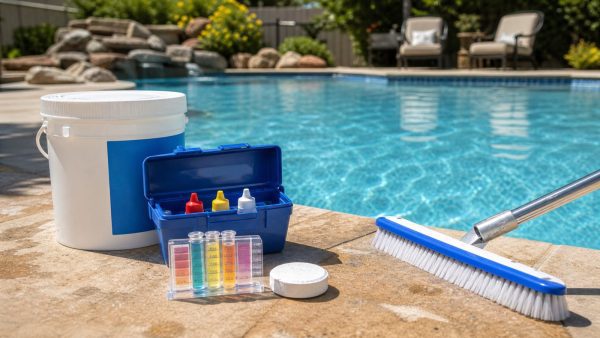
Pool Water Smells Like Sulfur: Why It Happens and How to Fix It
You walk out to your backyard expecting the refreshing scent of summer. Instead, your pool water smells like sulfur — that unmistakable rotten egg stench.
Pool Sand Filter Changing Sand: When and How to Replace Filter Sand
That cloudy water driving you crazy? If your pool sand filter has been running for 5-7 years without fresh media, worn-out sand is probably the culprit.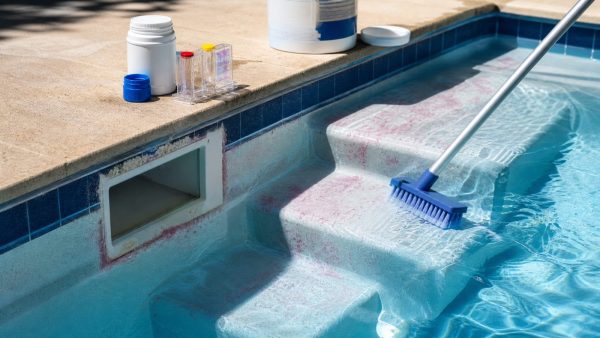
Pink Slime in Pool: What Causes It and How to Get Rid of It
You noticed it this morning — that pinkish, slimy film creeping along your waterline, clustering in corners, or coating your pool ladder. Pink slime in.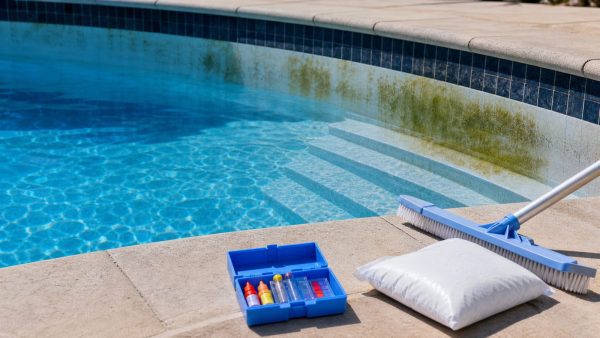
Mustard Algae Treatment for Pools: How to Kill Yellow Algae for Good
You found yellowish-brown dust coating your pool walls, brushed it off, and watched it float away in a cloud. Two days later, it’s back. Sound familiar?.