Acid Washing Your Swimming Pool: A Comprehensive Guide
Over time, swimming pool surfaces can develop unsightly stains, mineral deposits, or algae growth that regular cleaning methods may not effectively.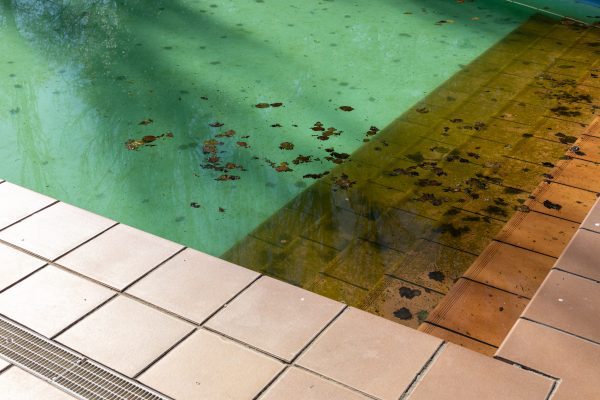
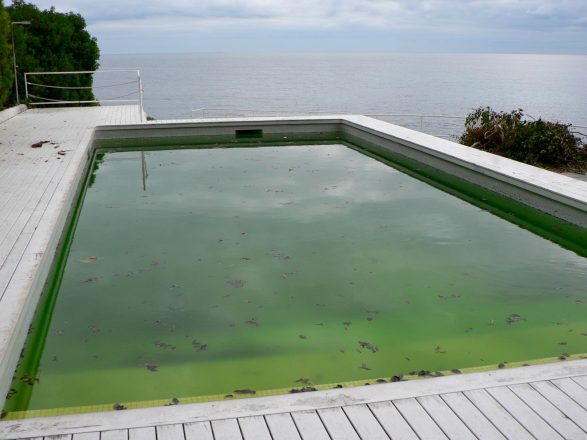
Dealing with Black Spots in Your Pool: Causes and Solutions
Black spots in a pool can be a frustrating sight for any pool owner, especially when they persist despite regular cleaning and maintenance efforts. While.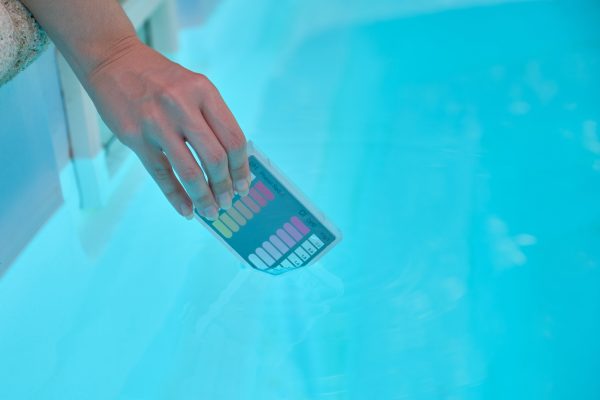
DIY Guide: Making Homemade Phosphate Remover for Your Pool
Phosphates are a common nutrient found in pool water, often introduced through sources such as fertilizers, leaves, and organic debris. While phosphates.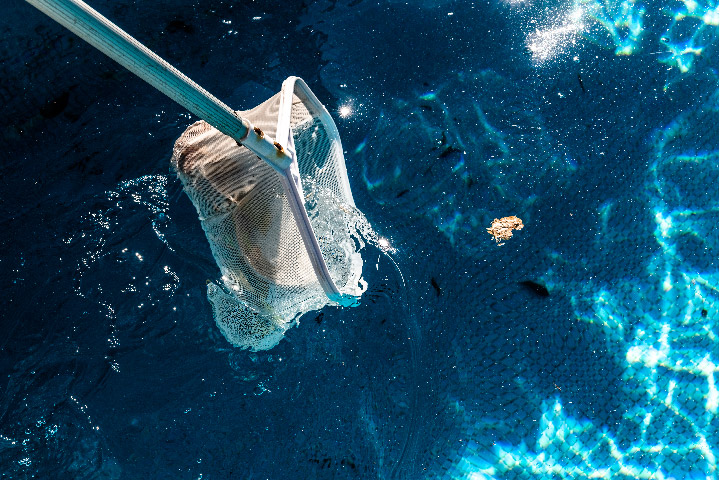
DIY Guide: Making Homemade Pool Flocculant for Crystal-Clear Water
Achieving crystal-clear pool water is a top priority for every pool owner, but sometimes standard filtration methods aren’t enough to remove fine.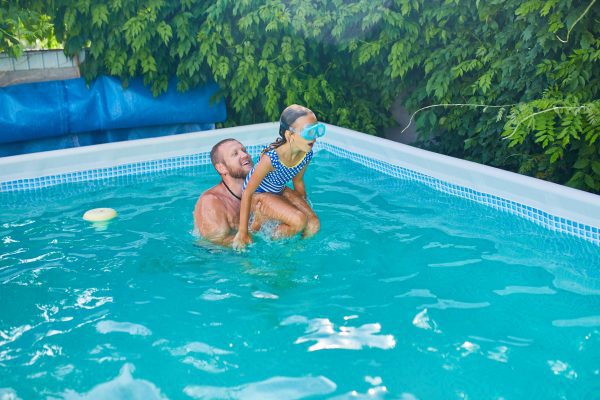
Flocking Your Pool with a Sand Filter: A Step-by-Step Guide
Flocking is a popular method for clarifying pool water by removing fine particles and debris that may not be captured by the filtration system alone.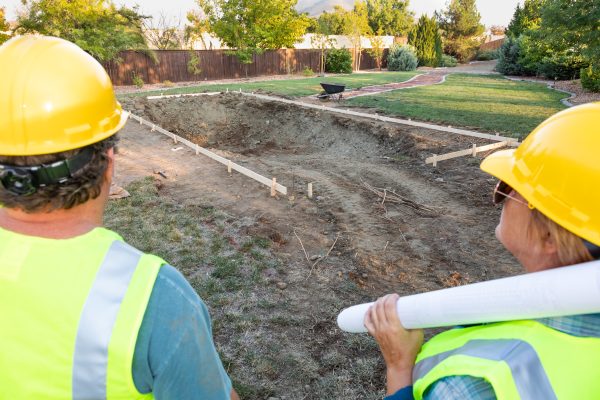
Essential Considerations When Planning to Build a Swimming Pool
The decision to build a swimming pool is an exciting one that can enhance your lifestyle and property value. However, it’s essential to approach the.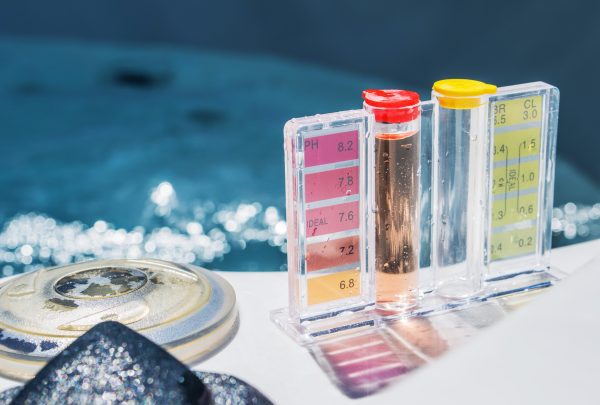
A Complete Guide to Testing, Raising, and Lowering Pool pH Levels
Maintaining proper pH levels in your pool is crucial for ensuring water clarity, comfort, and safety. pH, which measures the acidity or alkalinity of the.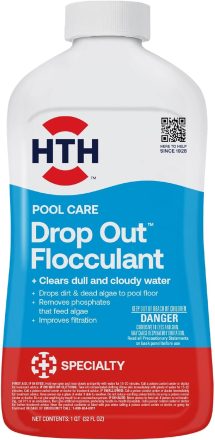
Clarifier vs. Flocculant: Understanding Their Role in Pool Maintenance
Clear, sparkling pool water is not only aesthetically pleasing but also essential for a safe and enjoyable swimming experience. To achieve pristine water.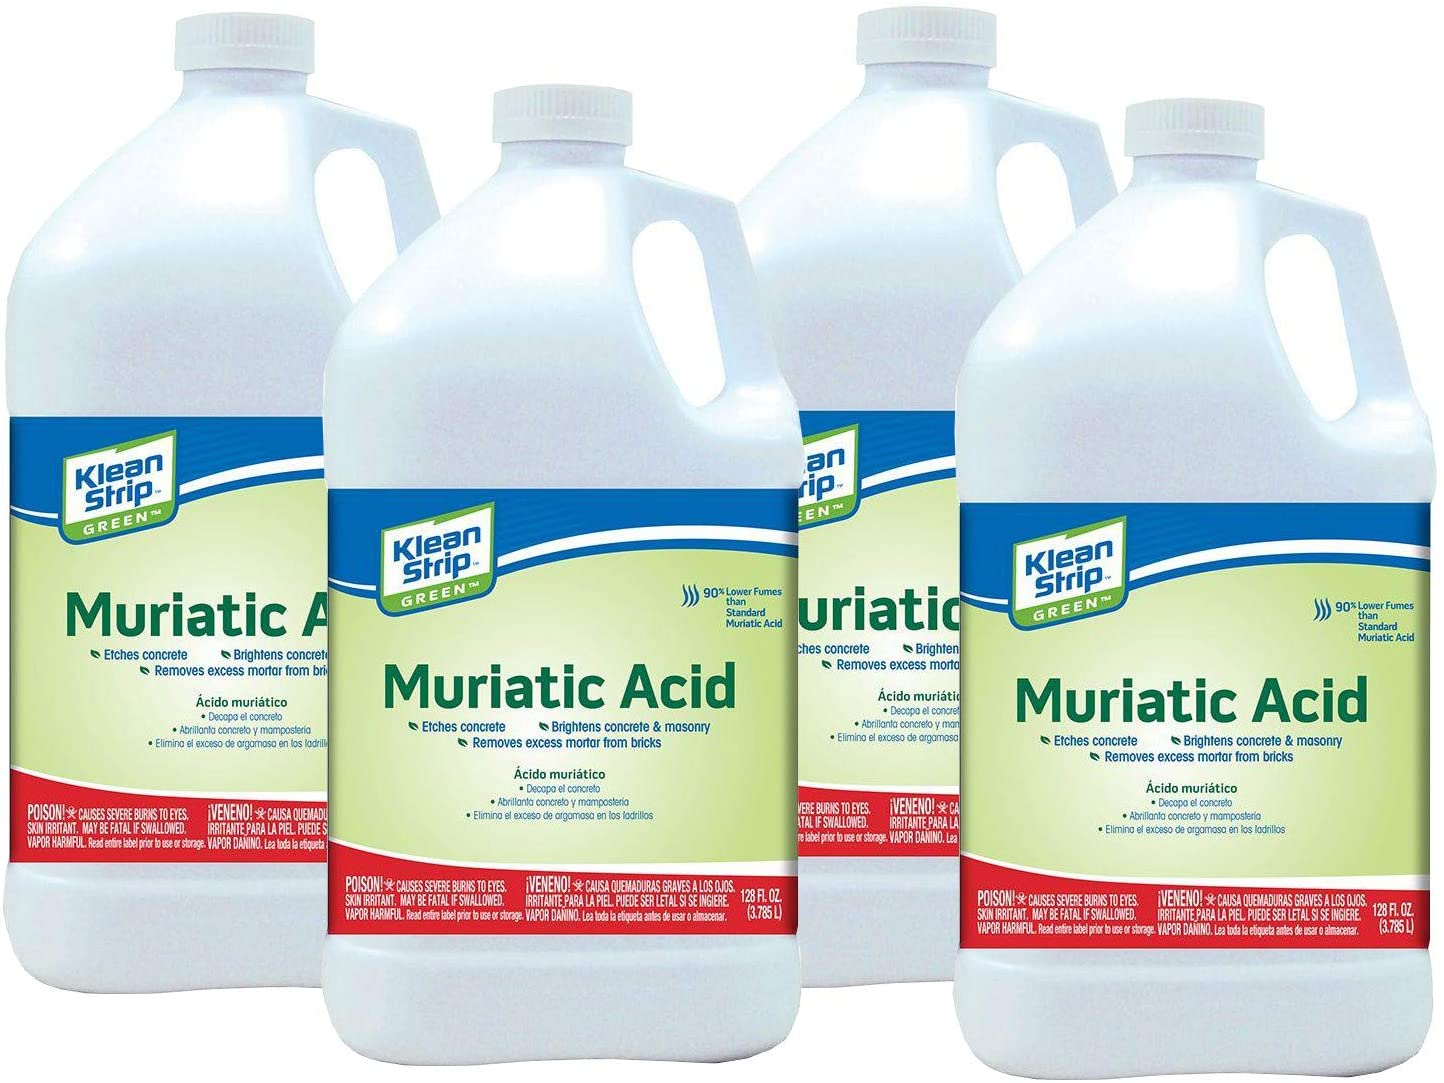
Understanding the Dynamic Duo: pH and Total Alkalinity in Pool Water Maintenance
Maintaining clean and clear pool water requires careful attention to various chemical parameters, including pH and total alkalinity. These two factors.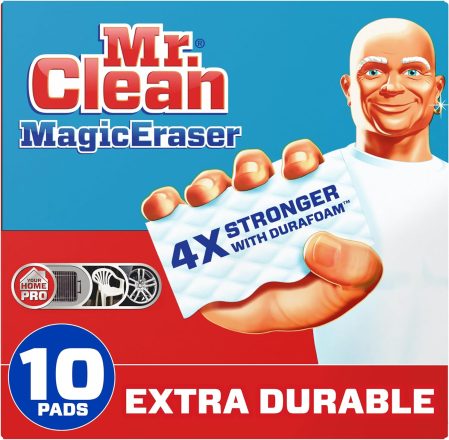
The Magic of Magic Erasers: How They Can Help Keep Your Pool Clean
When it comes to pool maintenance, finding effective tools and methods to keep your pool surfaces clean and sparkling can make a significant difference.