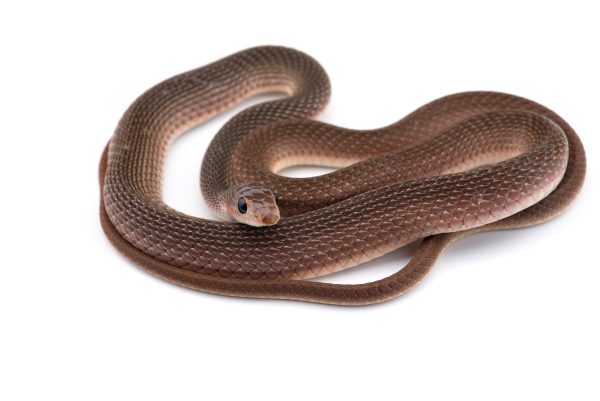
Slithering Surprise: How to Handle a Snake in Your Swimming Pool
Discovering a snake in your pool can be an alarming experience. Whether it’s a harmless garden snake or a more dangerous species, no one wants to share.
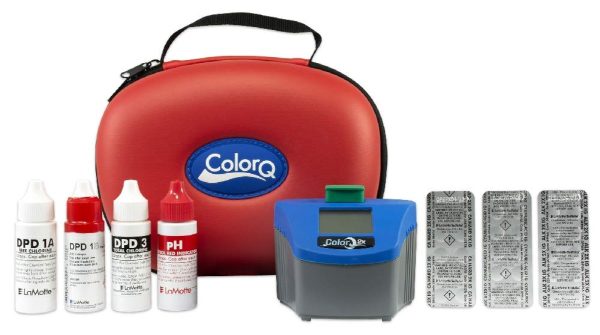
Mastering the Salt Dance: Understanding PPM and Balancing Salt in Chlorine Generator Pools
Dip your toe into the world of saltwater pools, and you’ll soon encounter the term ‘parts per million’ or PPM. While it might sound scientific and.
Turning Up the Heat: Understanding Pool Heater BTU and Its Impact on Your Pool
When it comes to heating your swimming pool, there’s a lot of talk about BTUs. But what exactly is a BTU, and how does it affect the warmth of your
Diving Deep into Winterizing: Tailoring Your Tactics to Your Pool Surface
Winter is coming, and pool owners everywhere are looking to batten down the hatches to ensure their beloved oasis remains in top shape for the next.
Salt vs. Mineral Bliss: Decoding Spa Water Options for Ultimate Relaxation
Dipping into a spa, you want to be enveloped in waters that not only soothe muscles but also calm the soul. Water quality plays an integral role in this.
Warmth Amidst Winter: Gearing Up Your Spa for Frosty Days Ahead
Winter’s chilly embrace doesn’t mean saying farewell to the soothing sanctuary of your spa. In fact, sinking into warm waters while surrounded by frosty.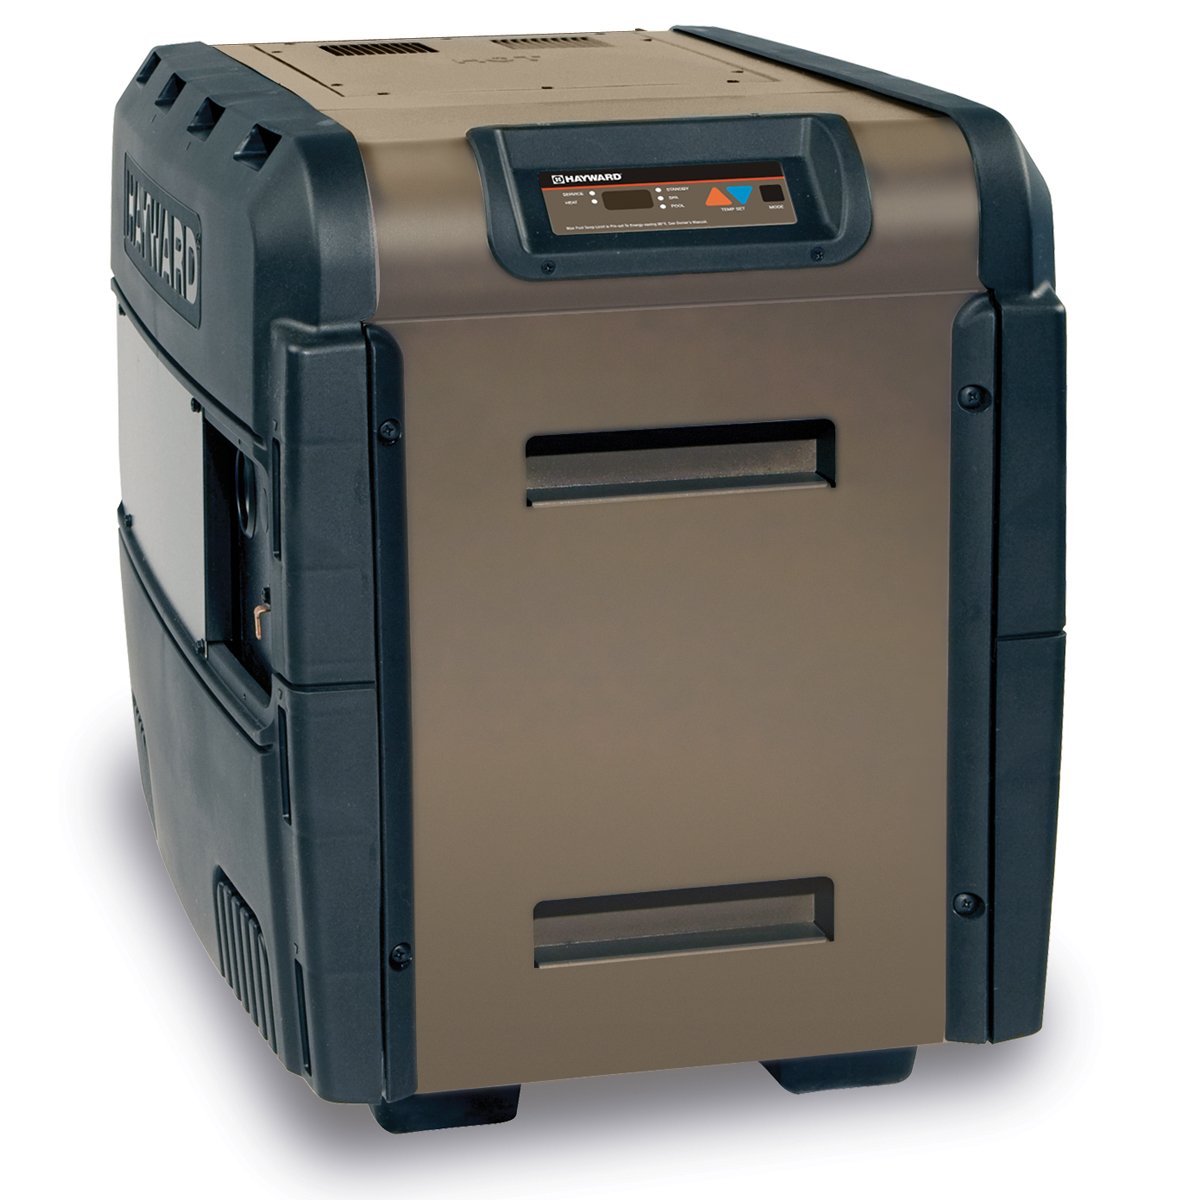
Warm Waters Await: Navigating the World of Pool Heaters
Dive into warm, welcoming waters even when the temperature drops. But with an array of pool heaters on the market, how does one pick the perfect match?.
Winter-Ready Waters: The A-Z of Balancing Pool Chemicals for the Frosty Season
Winterizing your swimming pool isn’t just about putting on a cover and hoping for the best. Proper chemical balance is crucial for ensuring your pool is.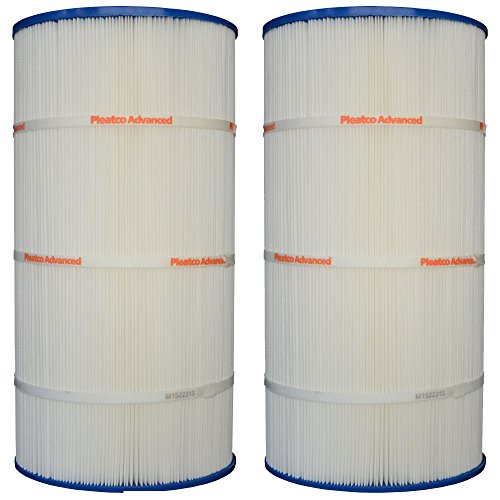
Seal the Deal: A Flawless Guide to Winterizing Your Swimming Pool Filter
Introduction: Quick answer Seal the Deal: A Flawless Guide to Winterizing Your Swimming Pool Filter: Introduction: As the summer waves goodbye, the.
Shutting Down in Style: Winterizing Your Chlorine Generator with Grace
The last summer splash has happened, the colorful leaves signal autumn’s embrace, and every swimming pool owner knows it’s time to wrap things up for the.