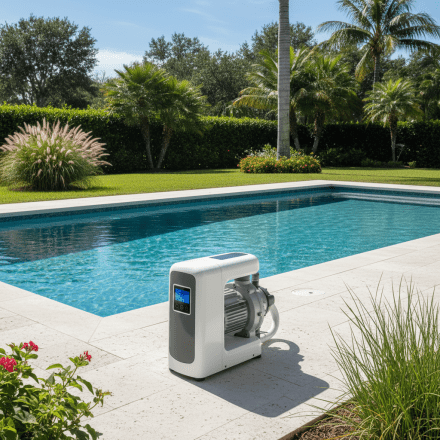
Variable Speed Pool Pump: The Complete Guide to Cutting Your Pool’s Energy Bill in Half
Your pool pump might be the single most expensive appliance running in your home right now. If you’re still using an old single-speed pump, it’s probably.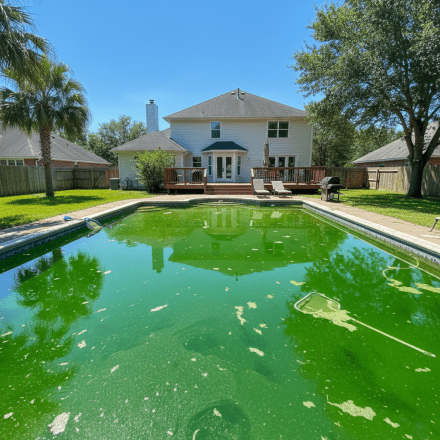
Why Is My Pool Green? (And How to Fix It Fast)
You walk outside with your morning coffee, ready to enjoy your pool, and… swamp. Your crystal-clear water turned into something that looks like it.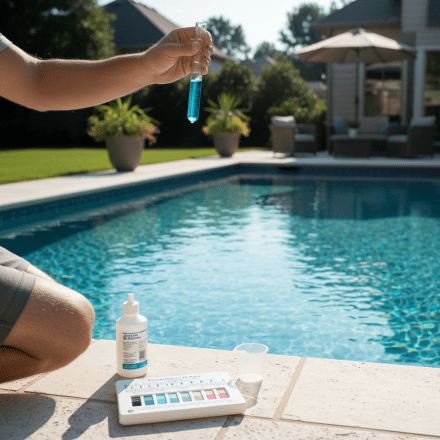
How to Raise Calcium Hardness in Pool (Without Wrecking Your Plaster)
Low calcium hardness doesn’t announce itself with green water or cloudy eyes. It just quietly eats away at your pool. The plaster roughens. Grout.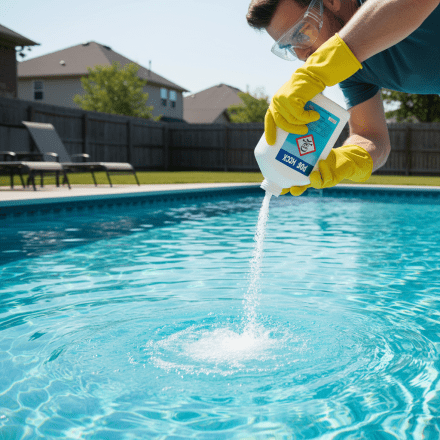
How to Lower Alkalinity in Pool (Without Making Things Worse)
High alkalinity makes your pool a pain to manage. Your pH climbs and stays high, your water gets cloudy, chlorine stops working like it should, and no.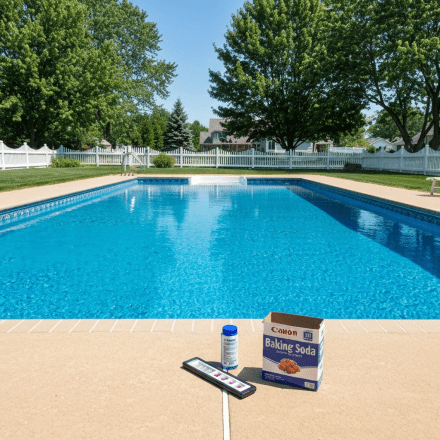
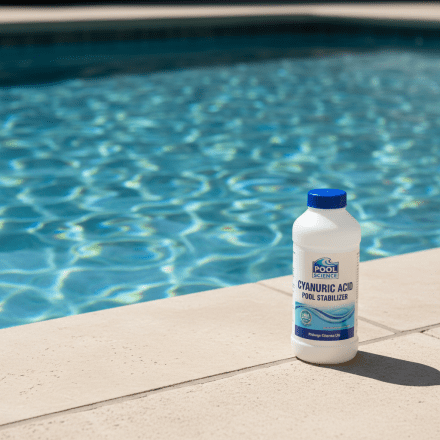
What Should Pool Alkalinity Be? (The Number That Controls Everything)
Most pool problems trace back to one thing: unstable pH. And the reason pH goes haywire is almost always because total alkalinity is off. Get alkalinity.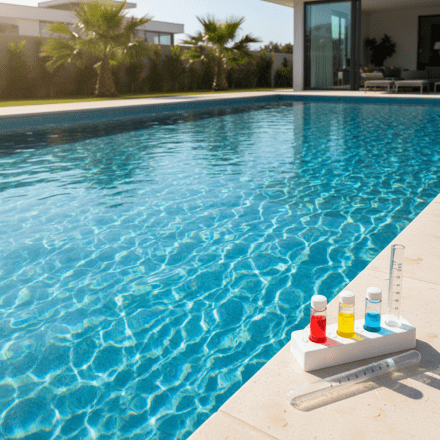
How to Balance Pool Water: The Step-by-Step Order That Actually Works
You tested your pool water. The numbers look wrong. Now what? Quick answer How to Balance Pool Water: The Step-by-Step Order That Actually Works: You.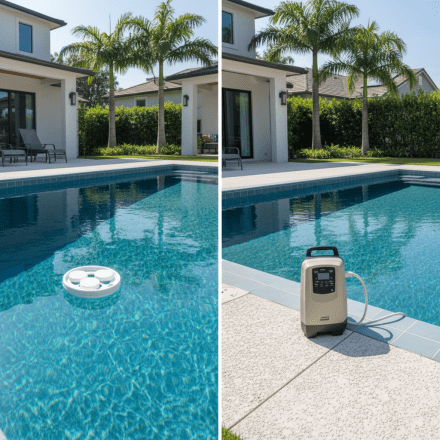
Is Salt Water Pool Better Than Chlorine? The Truth About Costs, Maintenance & Which One You Actually Need
Your neighbor just installed a salt water pool and won’t shut up about it. “No more chlorine smell!” they say. “Softer water!” they claim. Meanwhile.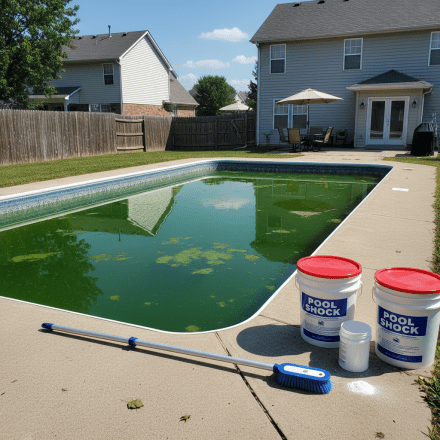
How to Get Rid of Pool Algae Fast: A No-Nonsense Action Plan
You walked outside expecting blue water and got hit with something that looks like a swamp. Green, murky, maybe a little slimy on the walls. Algae moved.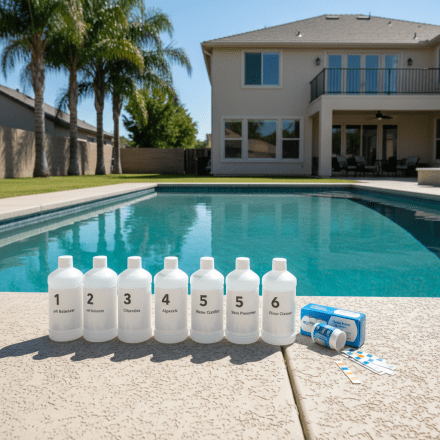
Pool Chemicals in What Order: The Right Sequence Every Time
Meta Description: Adding pool chemicals in the wrong order wastes money and can damage your pool. Here’s the exact sequence you need to follow every.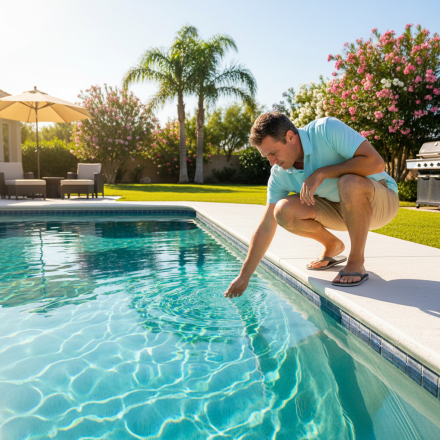
How to Test Pool Water Without a Kit (5 Methods That Actually Work)
Your test strips ran out. The liquid reagents expired three seasons ago. But you need to know if the pool is safe to swim in today. Quick answer How to.