Can You Swim After Shocking Your Pool? Here’s When It’s Actually Safe
You just dumped a bag of pool shock into the water. The kids are asking when they can jump back in. Your neighbor says “give it an hour.” The internet.
How to Raise pH in Your Pool (The Right Way, With Real Numbers)
Meta Description: Pool pH too low? Here’s exactly how to raise it with soda ash or baking soda, how much to add per gallon, and mistakes that keep it.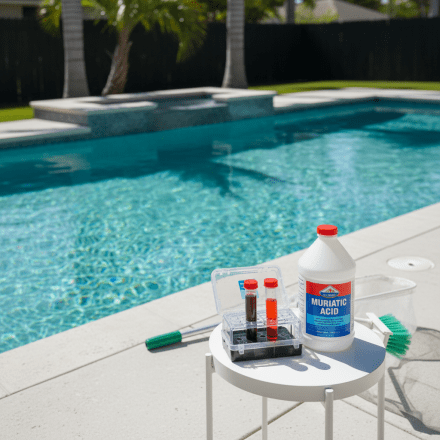
How to Lower pH in Your Pool (Without Wrecking Everything Else)
Meta Description: Pool pH too high? Here’s exactly how to lower it using muriatic acid or dry acid, how much to add, and what happens if you ignore it.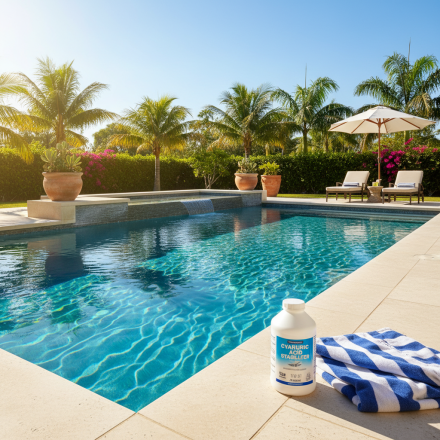
What Is Cyanuric Acid in Pools (And Why Your Chlorine Disappears Without It)
Meta Description: Cyanuric acid protects your pool chlorine from sunlight — but too much causes big problems. Here’s what CYA does, ideal levels, and how.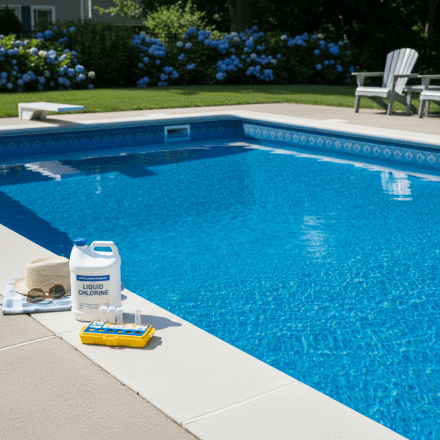
How Much Chlorine to Add to Your Pool (Without Guessing)
Meta Description: Not sure how much chlorine to add to your pool? Here’s exactly how to calculate the right dose based on your pool size, current levels.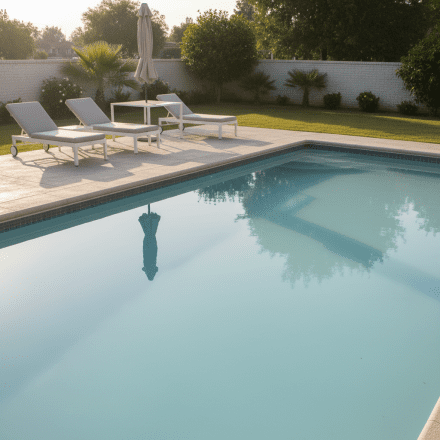
What Causes Cloudy Pool Water? (And How to Fix It Fast)
Meta Description: Wondering what causes cloudy pool water? Here are the 7 real reasons your pool looks hazy — plus exactly how to fix each one and get.
How Often Should I Shock My Pool? A Complete Shocking Schedule
Quick Reference: Pool Shocking Schedule Situation Shocking Frequency Dose Normal maintenance Every 1-2 weeks 1 lb per 10,000 gal After pool party Same.
Pool Salt Cell Cleaning: How to Remove Scale and Extend Cell Life
Meta Description: Learn how to clean your pool salt cell properly — when to inspect, how to remove calcium scale, which cleaning solutions work best, and.
Pool Cloudy Water After Shocking? Here’s Why (And What to Do Next)
Meta Description: Pool still cloudy after shocking? Learn the 6 most common reasons your pool stays hazy after a shock treatment and exactly how to fix.Why Your Pool Turns Green After Rain (And How to Fix It Fast)
Last updated: March 2026 Quick answer Why Your Pool Turns Green After Rain (And How to Fix It Fast): Last updated: March 2026 Related pool calculators.