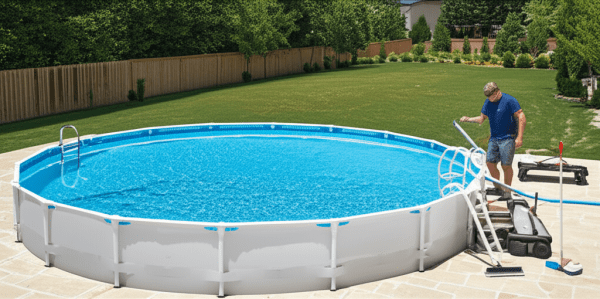
Above Ground Pool Maintenance: Your Complete Guide to Crystal Clear Water
Quick Reference: Above Ground Pool Maintenance Schedule Task Frequency Why It Matters Test pH & chlorine 3-4× per week Small volume = fast chemistry.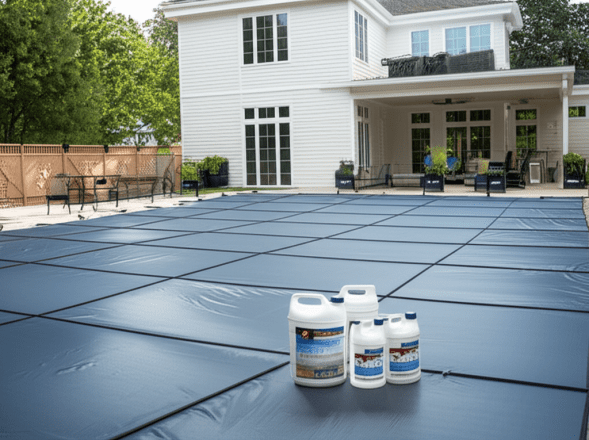
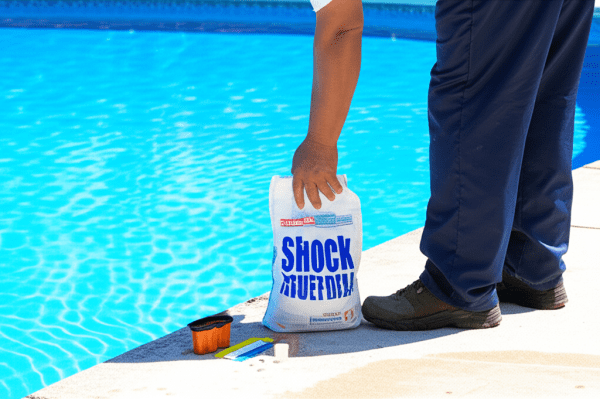
Pool Chemicals for Winter: Everything You Need to Close Your Pool Right
You’ve enjoyed your pool all summer. Now winter’s coming, and you’re wondering what chemicals you actually need to winterize it properly. Quick answer.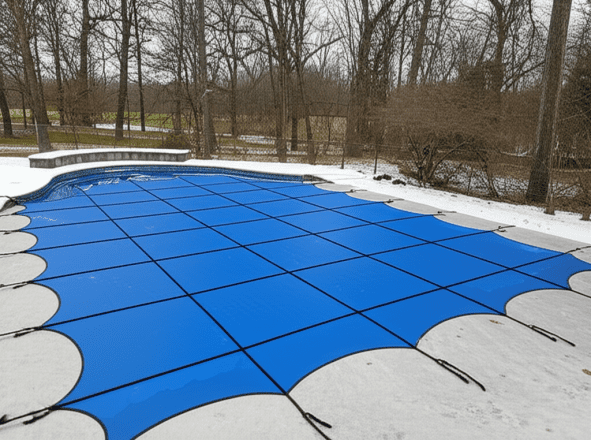
How to Winterize Your Pool (And Why Skipping It Costs You Big)
Your pool gave you four months of backyard bliss. Now it’s time to tuck it in for winter. And no, just throwing a tarp over it doesn’t count. Quick.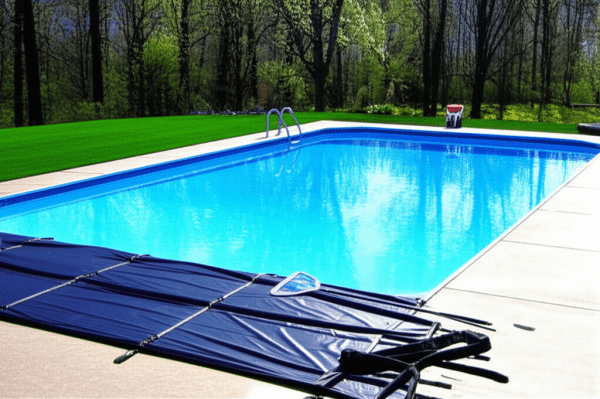
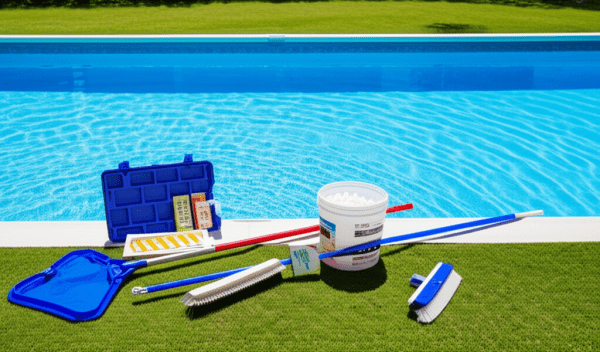
Spring Pool Opening Checklist: Get Your Pool Ready in Under 3 Hours
Schema: HowTo How to Open Your Pool for Spring: Quick answer Spring Pool Opening Checklist: Get Your Pool Ready in Under 3 Hours: Schema: HowTo How to.Pool Sand Filter Maintenance: When to Backwash and When to Change the Sand
Recommended Products As an Amazon Associate, we earn from qualifying purchases. These are products we genuinely recommend for pool sand filter.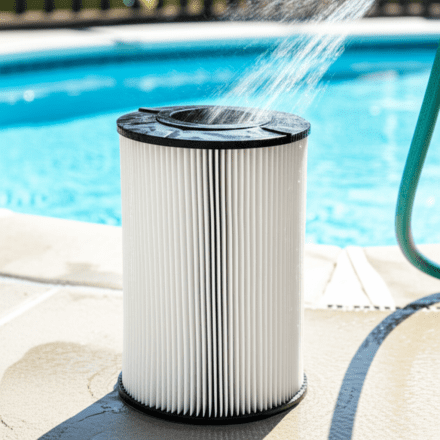
How to Clean a Pool Filter Cartridge (The Right Way)
Your pool filter cartridge is the one thing standing between crystal-clear water and a green swamp. But here’s what most pool owners get wrong: they wait.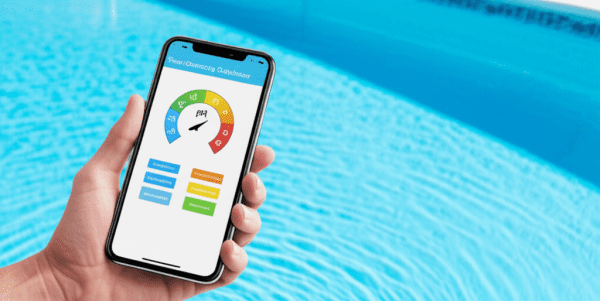
The Best Pool Water Chemistry App for 2026 (And Why You Need One)
Recommended Products As an Amazon Associate, we earn from qualifying purchases. These are products we genuinely recommend for pool water testing and.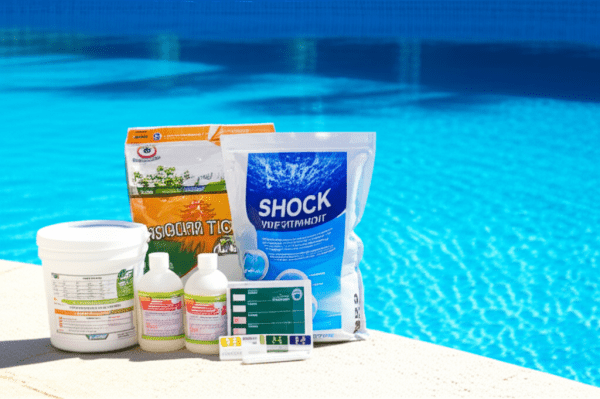
The Complete Pool Chemicals List: Every Chemical Your Pool Needs in 2026
Recommended Products As an Amazon Associate, we earn from qualifying purchases. These are products we genuinely recommend for pool maintenance. Quick.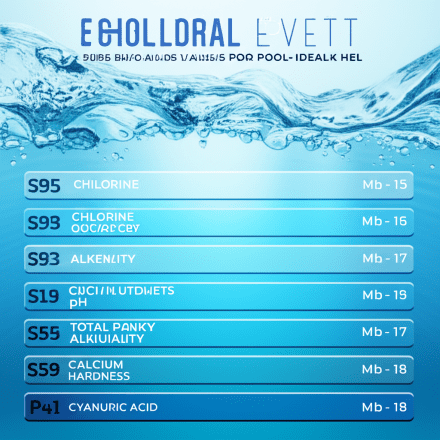
Pool Water Chemistry Chart: Your Quick Reference Guide
Calculate It Instantly with Pool Chemical Calculator Stop guessing with your pool chemistry! The Pool Chemical Calculator app tells you exactly how much.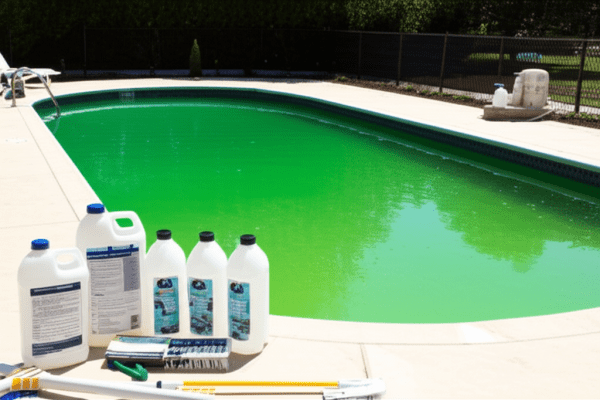
How to Clear Green Pool Water: A Step-by-Step Fix
Calculate Exactly How Much Chlorine You Need Guessing chemical amounts leads to either wasted money or a pool that stays green. The Pool Chemical.