Calculating the volume of your swimming pool is an essential task, whether you are a pool owner or a professional. Knowing the volume is crucial for determining the right amount of chemicals to use, heating or cooling requirements, and filtration needs. This article will guide you through the process of calculating the volume of swimming pools, starting with simple shapes and moving on to more complex ones. Grab your measuring tape, a pen, and some paper – let’s dive in!
I. Simple Shapes:
- Rectangular Pools
The most straightforward pool shape to calculate the volume for is a rectangular pool. Follow these steps:
a. Measure the length, width, and depth of the pool (in feet or meters). b. Multiply these measurements together to find the volume in cubic feet (or cubic meters): Volume = Length × Width × Depth
- Circular Pools
Circular pools are also relatively simple to calculate. Here are the steps:
a. Measure the diameter (across the widest part) and depth of the pool (in feet or meters). b. Calculate the radius by dividing the diameter by 2. c. Use the formula for the volume of a cylinder: Volume = π × Radius² × Depth, where π is a mathematical constant (approximately 3.14159).
II. Complex Shapes:
- Oval Pools
For an oval pool, follow these steps:
a. Measure the major axis (longest diameter) and minor axis (shortest diameter) of the pool, as well as the depth (in feet or meters). b. Calculate the volume using the following formula: Volume = π × (Major Axis / 2) × (Minor Axis / 2) × Depth
- Kidney-Shaped Pools
Calculating the volume of a kidney-shaped pool involves a few more steps:
a. Measure the lengths of the two axes (longest and shortest diameters) and the depth at the deepest and shallowest points of the pool. b. Calculate the average depth by adding the deepest and shallowest depths and dividing by 2: Average Depth = (Deepest Depth + Shallowest Depth) / 2 c. Use the formula for an oval pool (from above) with the average depth to calculate the volume.
- Free-Form Pools
For free-form pools, the best way to estimate the volume is by dividing the pool into smaller sections (such as rectangles, circles, or triangles) and calculating the volume of each section separately. Afterward, add the volumes together to find the total pool volume. Remember to use the appropriate formulas for each shape and to account for varying depths by using average depths when needed.
III. Considerations for Varying Depths
Many swimming pools have varying depths, such as a shallow end and a deep end. In these cases, it is essential to measure the depths at the shallowest and deepest points and use average depths in the volume calculations. For rectangular and oval pools, follow the steps mentioned earlier for calculating average depths. For more complex shapes, you might need to divide the pool into smaller sections and apply the same concept.
Conclusion:
Calculating the volume of a swimming pool is crucial for proper maintenance and operation. By following the steps and formulas outlined in this article, you can determine the volume of various pool shapes, from simple rectangles to more intricate free-form designs. Remember to consider the varying depths and always measure carefully to ensure accurate calculations. Happy swimming!
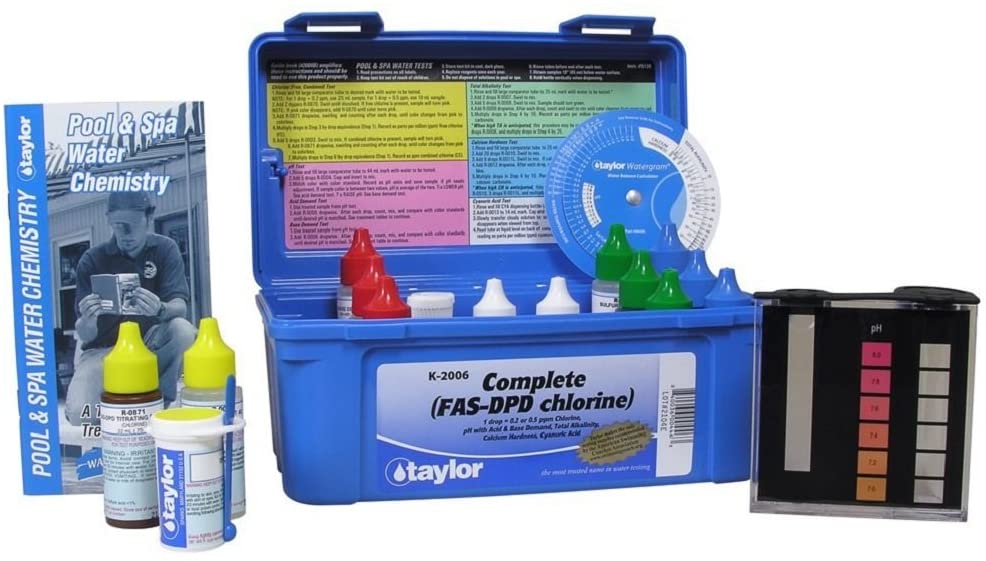
Recommended Products
- Taylor K-2006 Complete Test Kit
- AquaChek 7-Way Test Strips
- In The Swim 3-Inch Chlorine Tablets
- Dolphin Nautilus CC Plus Robotic Cleaner
As an Amazon Associate, we earn from qualifying purchases.