Introduction:
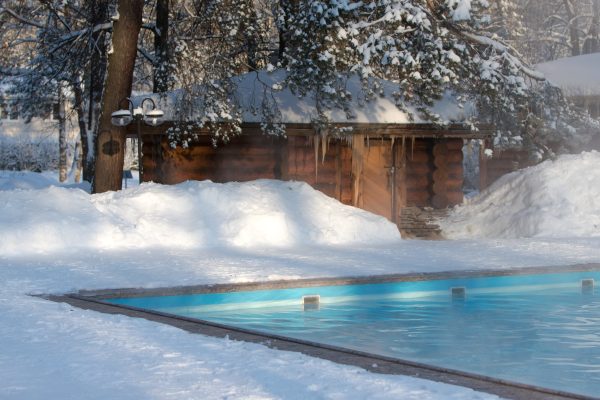
As the summer waves goodbye, the swimming pool season wraps up, paving the way for a critical task – winterizing. Amidst the numerous winterization tasks, giving special attention to your swimming pool filter is paramount. Let’s delve into the crucial steps, ensuring that when spring awakens, your pool filter is ready to dive back into action without a hitch.
1. The Weight of Winterizing:
The core function of your swimming pool filter in maintaining a crystal-clear oasis during swimming months is pivotal. Winterizing it is about safeguarding this valuable component from potential freezing damage and prolonging its lifespan, ensuring that it’s ready and raring to go when swim season returns.
2. Step-by-Step to Winter-Proof Your Pool Filter:
- Shut It Down: Ensure all power to the pump and filter is switched off at the breaker to prevent accidental startups.
- Disassemble Components: Based on your filter type (cartridge, sand, or DE filter), remove any internal components such as cartridges or grids, and thoroughly clean them. Store these elements in a dry, safe place.
- Drain It Right: Water left inside the filter can freeze and expand, leading to cracks and damage. Ensure that all the water is thoroughly drained from the filter, pump, and any associated piping.
- Antifreeze for Plumbing: Utilize a pool antifreeze (non-toxic) for the plumbing lines to prevent any residual water from freezing and causing damage.
- Add a Winter Plug: Utilize winter plugs for the inlet and outlet ports of the filter to keep water out of the system.
- Cover and Shield: If the filter is stationed outdoors, consider using a durable, weather-resistant cover to shield it from the harsh winter elements.
3. A Stitch in Time:
- Gaskets and O-Rings: While the filter is offline, take the opportunity to check all gaskets and O-rings. Replace them if any wear or damage is evident.
- Lubrication: Apply a suitable lubricant to the O-rings to preserve their elasticity and ensure a good seal for the next season.
- Physical Check: Make sure there are no visible cracks or damage on the filter body and connections.
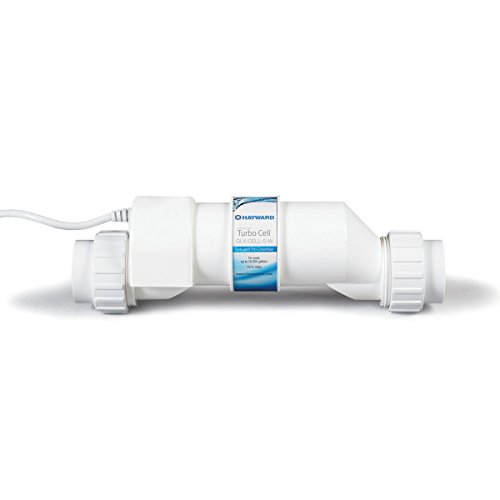
4. A Ponder on Replacement:
Winterizing is an apt time to ponder upon the condition of your filter. If it’s reaching the end of its expected service life or has given you trouble during the season, it may be time to consider a replacement.
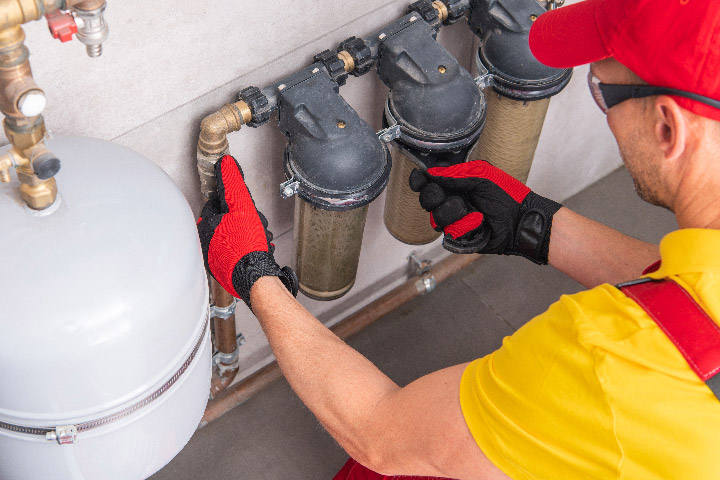
5. A Note on Professional Assistance:
While many pool owners undertake winterization themselves, obtaining professional assistance is never a bad idea. A professional can spot potential issues that may be missed by the untrained eye.
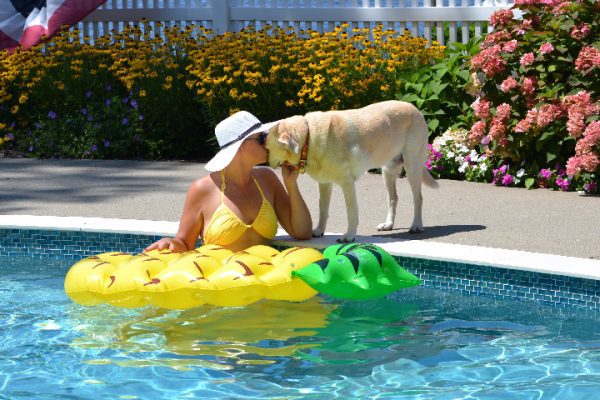
Conclusion:
Winterizing your pool filter might be a procedure wrapped in meticulous care, but it’s a labor of love that pays dividends when the sun shines high again. Safeguard your pool, its components, and get ready to uncover a problem-free system when the warm days beckon. Your future self, ready for a dive, will thank you!