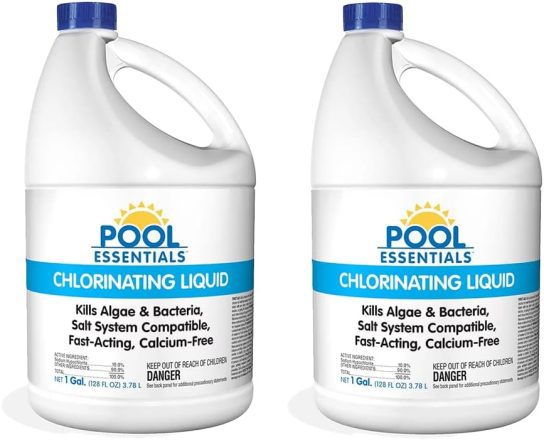
How Much Liquid Chlorine to Add to Pool
Maintaining proper chlorine levels is essential for ensuring clean and safe swimming pool water. Liquid chlorine is a popular choice for pool owners due.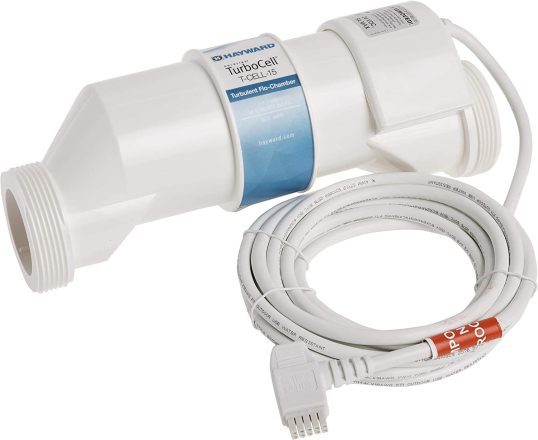
The Complete Guide to Saltwater Pool Maintenance: Tips for Crystal-Clear Water All Season Long
Saltwater pools have gained popularity in recent years due to their softer feel and lower chemical maintenance requirements compared to traditional.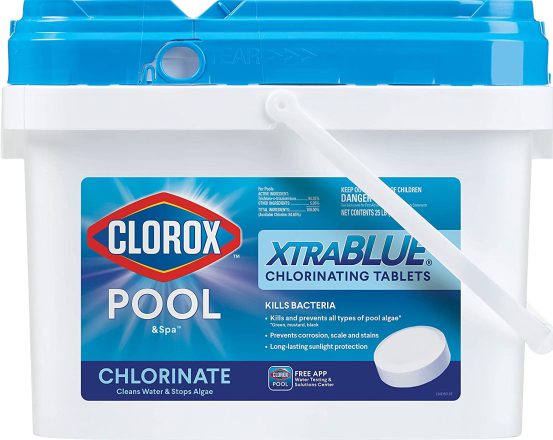
The Importance of Pool Chlorine Stabilization: Ensuring Effective Water Sanitization
Maintaining proper chlorine levels in your swimming pool is essential for ensuring clean and safe water for swimmers. However, chlorine can degrade.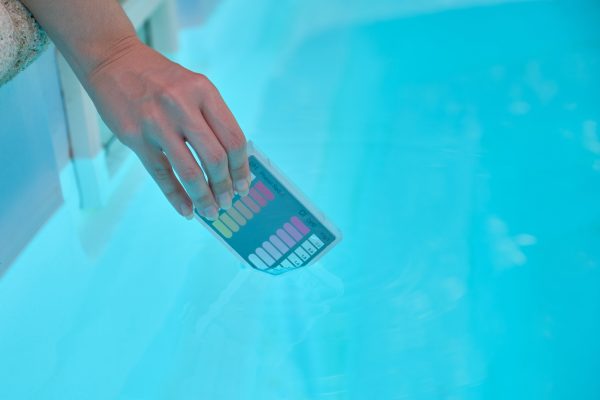
DIY Guide: Making Homemade Phosphate Remover for Your Pool
Phosphates are a common nutrient found in pool water, often introduced through sources such as fertilizers, leaves, and organic debris. While phosphates.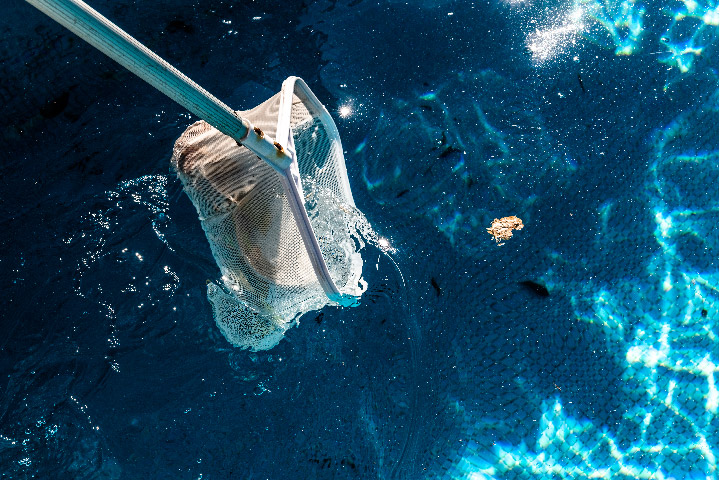
DIY Guide: Making Homemade Pool Flocculant for Crystal-Clear Water
Achieving crystal-clear pool water is a top priority for every pool owner, but sometimes standard filtration methods aren’t enough to remove fine.
Flocking Your Pool with a Sand Filter: A Step-by-Step Guide
Flocking is a popular method for clarifying pool water by removing fine particles and debris that may not be captured by the filtration system alone.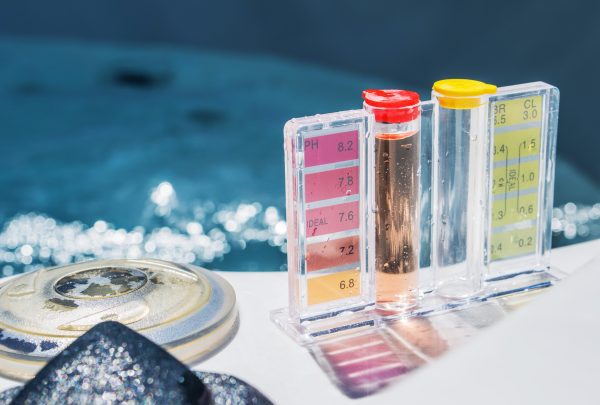
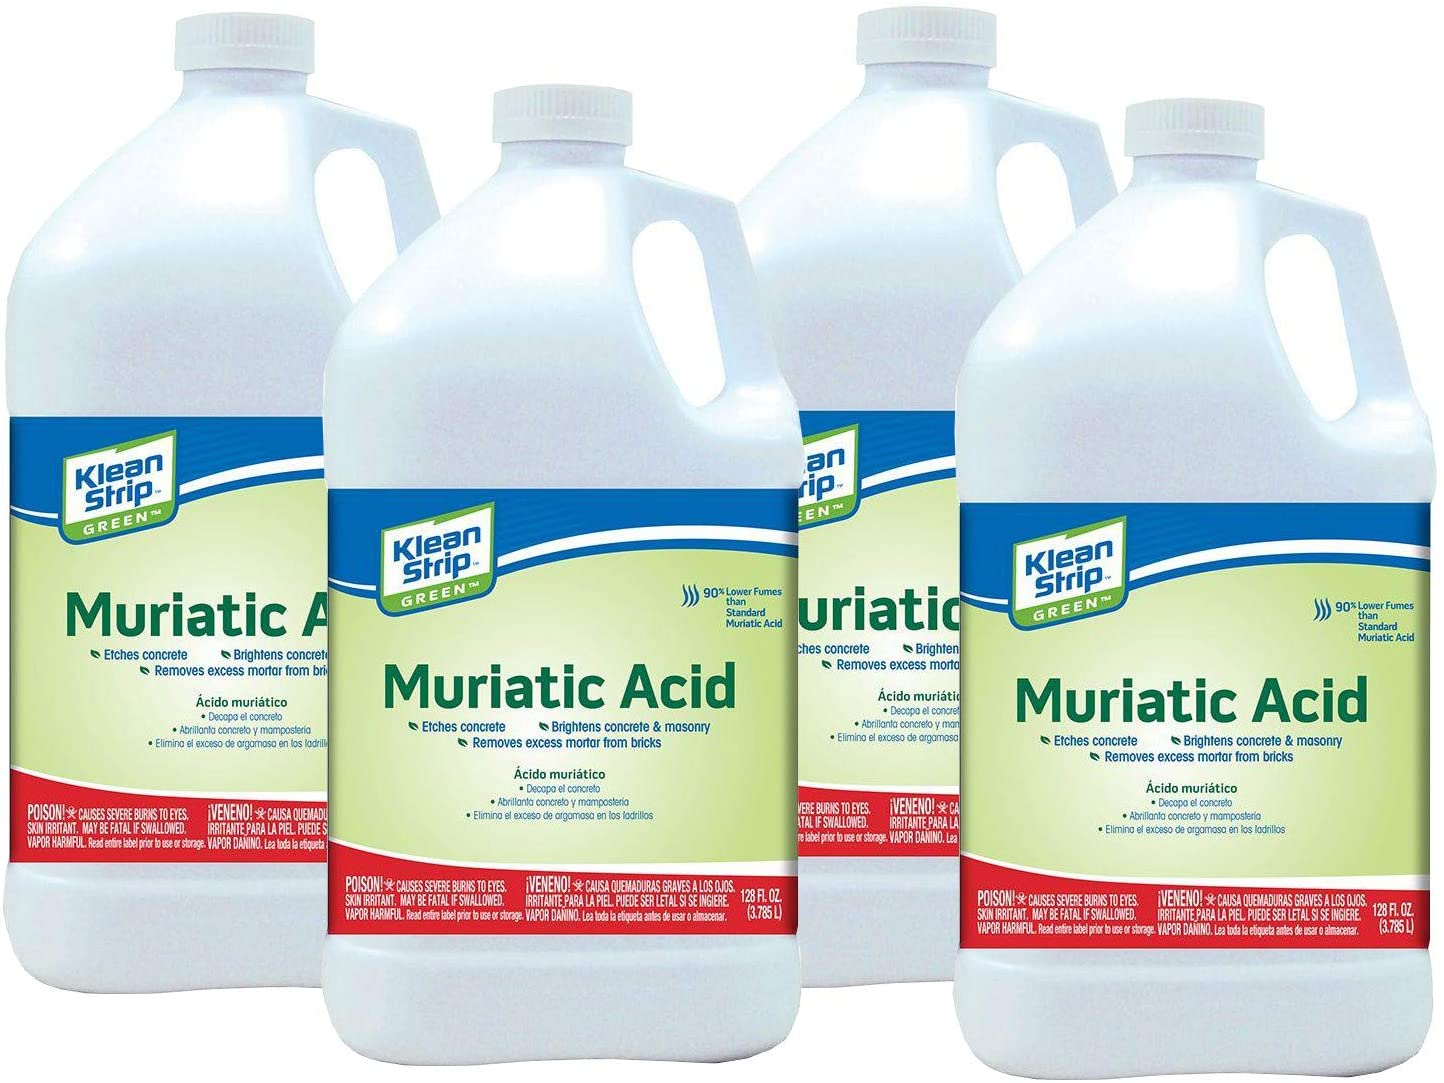
A Complete Guide to Testing, Raising, and Lowering Pool pH Levels
Maintaining proper pH levels in your pool is crucial for ensuring water clarity, comfort, and safety. pH, which measures the acidity or alkalinity of the.
Clarifier vs. Flocculant: Understanding Their Role in Pool Maintenance
Clear, sparkling pool water is not only aesthetically pleasing but also essential for a safe and enjoyable swimming experience. To achieve pristine water.