Understanding the Costs: Average Pool Maintenance Expenses Explained
Owning a swimming pool offers countless benefits, from providing a refreshing escape on hot summer days to creating a hub for social gatherings and exercise. However, it’s essential to recognize
Finding the Perfect Temperature: A Guide to Swimming Pool Temperature and Maintenance
As the weather warms up and swimming season approaches, many pool owners find themselves wondering about the ideal temperature for their pool water. Achieving the perfect balance of warmth and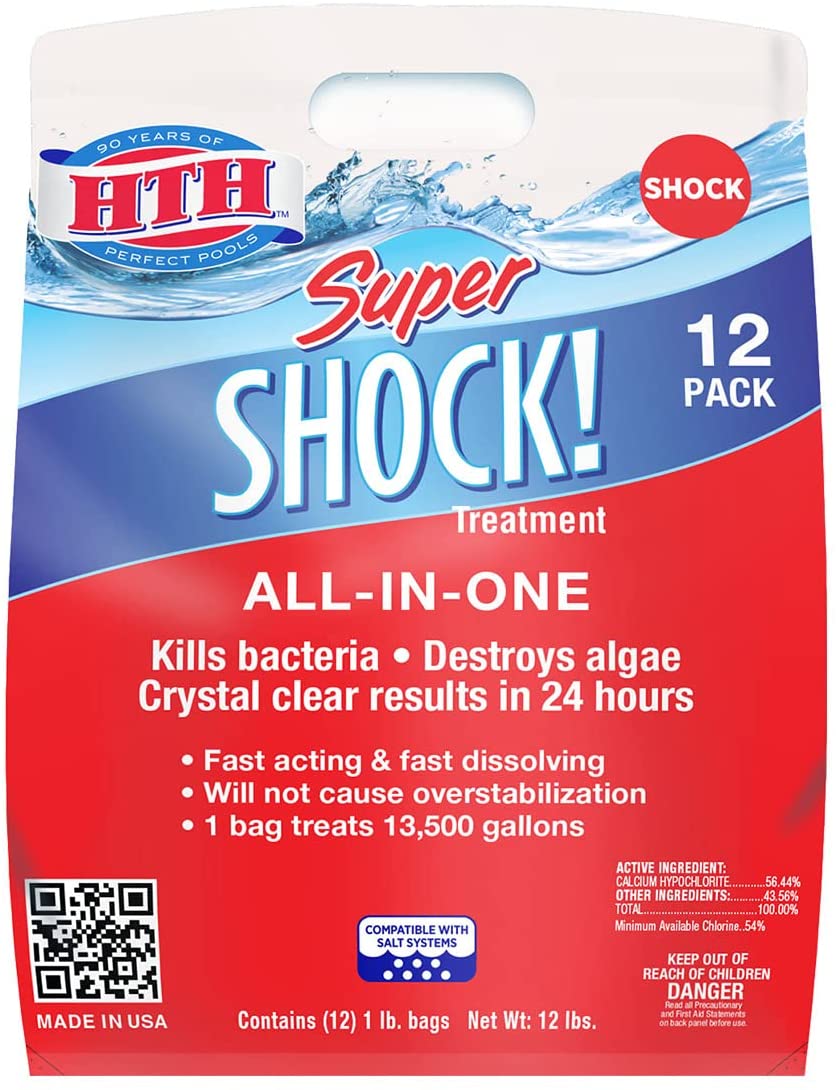
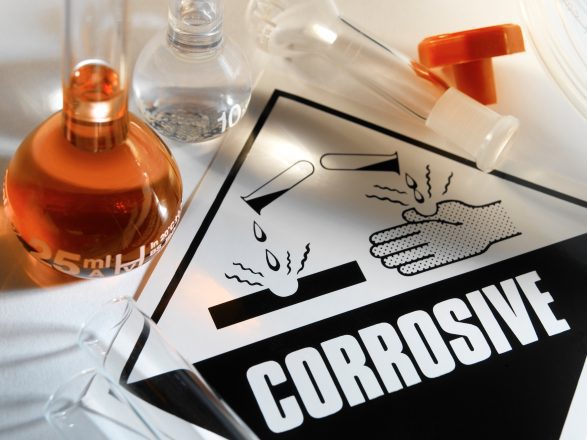
Can You Over Shock a Pool? Understanding Pool Shocking and What to Do
If you’re a pool owner, you’re likely familiar with the process of shocking your pool. Shocking is an essential part of pool maintenance, as it helps eliminate bacteria, algae, and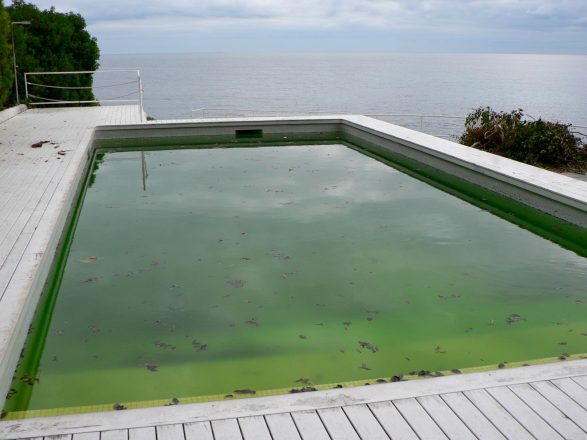
The Role of Chlorine in Algae Elimination
Chlorine is a popular and effective chemical used in swimming pool maintenance to sanitize water by killing bacteria, viruses, and algae. When it comes to algae, a common nuisance for
How to Identify and Repair Cracks in Your Pool Surface
A pristine and inviting pool can be a centerpiece of your outdoor oasis, offering relaxation and enjoyment for your family and friends. However, over time, your pool’s surface may develop Winter Pool Wonders: How to Keep Algae and Murky Waters at Bay
Ah, winter! While the snow-covered landscapes and cozy nights by the fireplace are quite the charm, pool owners know there’s another side to the tale: the challenge of keeping your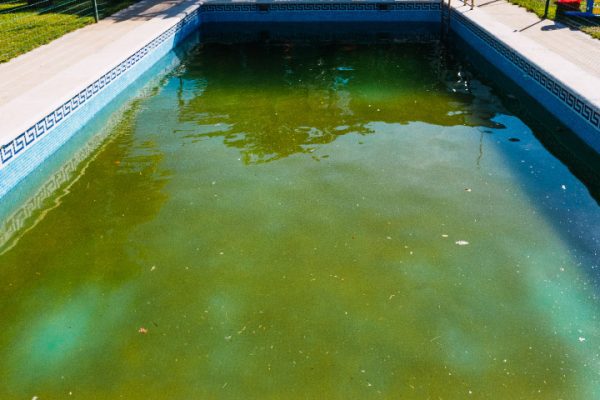
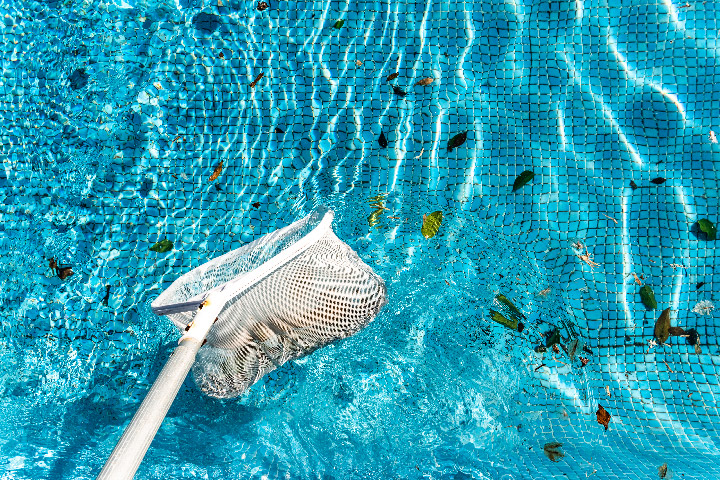
Battling the Slip & Slide: Tackling Slimy Pool Walls
You step into your pool, hoping for a relaxing swim, but instead, you’re met with a slippery sensation under your fingers. Slimy pool walls can quickly turn your refreshing oasis
Backwash Basics: When and How to Clean Your Swimming Pool Filter
A refreshing dive into your pool is the best way to beat the summer heat. But for that pristine water, a lot happens behind the scenes – especially within your