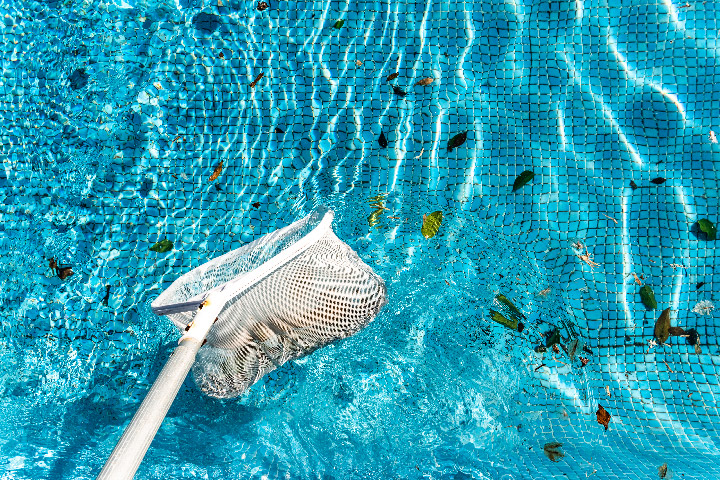
Battle of the Leaves: Winning the War Against Nature’s Pool Invaders
A swimming pool is a refreshing retreat, but it also comes with its fair share of challenges. One of the most persistent problems pool owners face is dealing with leaves
Draining Your Vinyl Pool: A Balancing Act Between Benefits and Challenges
Draining a vinyl pool might seem like a daunting task, but it’s a necessary one to maintain a clean, healthy, and enjoyable swimming environment. The process, however, is a delicate
Patch It Up: The Ultimate Guide to Repairing Pool Liners
A pool liner is an essential component of any swimming pool, providing a barrier between the pool’s structure and the water it holds. Over time, liners can become damaged due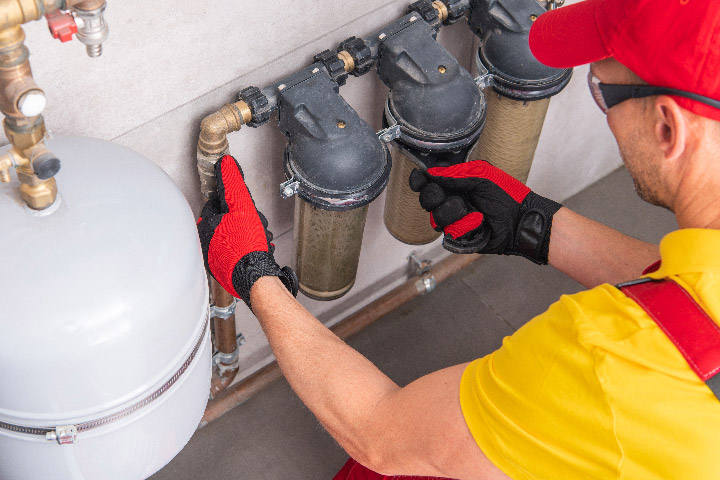
The Leaking Pool Pump Saga: How to Fix It and Become the Hero of Your Backyard
We’ve all been there – enjoying a sunny day by the pool, only to notice a pesky leak coming from your pool pump. It’s the kind of issue that makes
My First Pool Store Adventure: A Newbie’s Guide to Pool Supplies
As a proud new owner of a backyard swimming paradise, I couldn’t wait to dive in and start enjoying my pool. But then reality struck—taking care of a pool requires
Frozen Frenzy: How to Protect Your Swimming Pool from Freezing Weather
Become the Ultimate Winter Pool Warrior and Conquer Freezing Temperatures with Confidence Winter is coming, and it’s not just the inhabitants of Westeros who need to be prepared. As a
Why Water Bugs in Your Swimming Pool: Causes and Solutions
Discover why water bugs are attracted to your swimming pool and learn effective strategies for preventing and eliminating these unwelcome guests to maintain a clean and enjoyable swimming environment. Introduction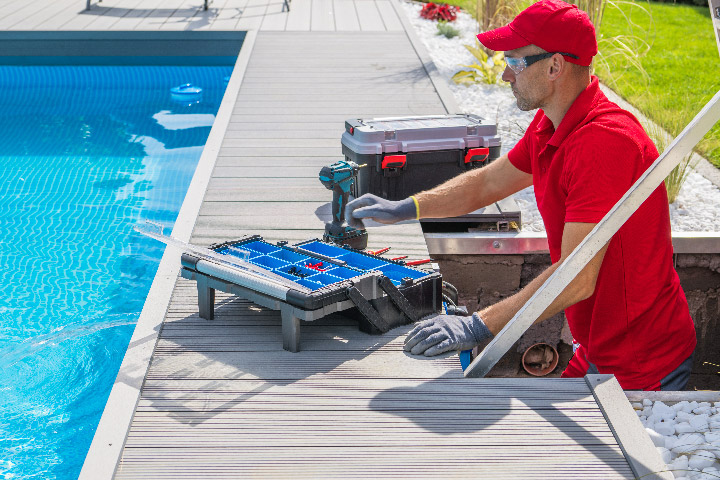
Choosing the Best Pool Service Company: A Guide to Finding Your Perfect Match
Tips for selecting a reliable and trustworthy pool service provider Maintaining a swimming pool is essential to ensure its cleanliness, safety, and longevity. While some pool owners opt for DIY