
Chlorine vs. Sunlight: Understanding the Battle and Protecting Your Swimming Pool with Cyanuric Acid
Chlorine plays a crucial role in maintaining the cleanliness and safety of your swimming pool. It acts as a disinfectant, killing bacteria, algae, and other harmful microorganisms. However, sunlight poses
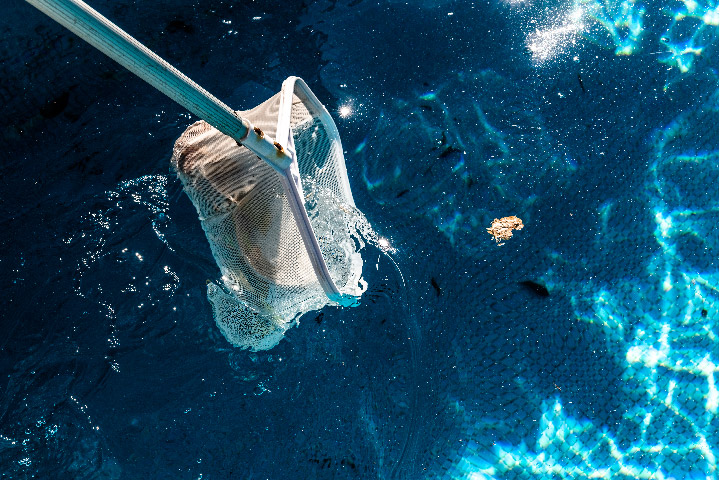
6 Reasons Your Swimming Pool Turns Cloudy After Shocking
Understanding the Factors Behind Cloudy Pool Water and How to Address Them Shocking your swimming pool is a necessary step in maintaining water quality and preventing the growth of algae,
SLAM – Shock Level and Maintain: A Comprehensive Guide to Pool Sanitation
Maintaining the cleanliness and safety of your swimming pool is crucial for both the health of swimmers and the longevity of your pool. One popular and effective sanitation method is
The Top 5 Pool Water Test Kits: Pros and Cons for Informed Decision-Making
Meta Description: Discover the top 5 pool water test kits on the market, along with their pros and cons, to help you make an informed decision when choosing the
How to Identify and Resolve Pool pH and Alkalinity Problems
Maintaining a balanced water chemistry in your swimming pool is crucial for ensuring a safe and pleasant swimming environment. Two key elements to monitor and regulate are pH and alkalinity
A Comprehensive Guide to Leveling an Above Ground Pool: Steps, Tips, and Tools
An above ground pool is an excellent addition to any backyard, providing a fun and refreshing way to cool off during the hot summer months. However, proper installation is crucial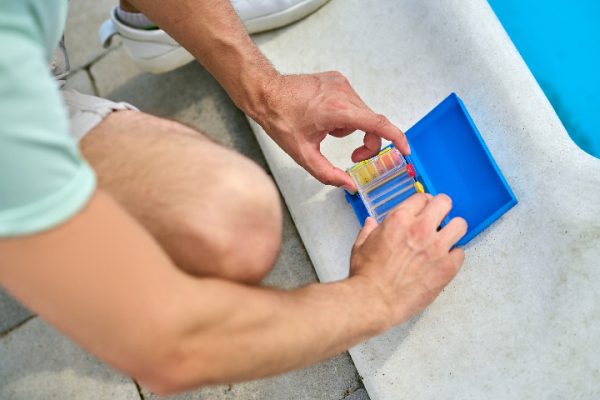
Reasons Why Your Pool Has No Chlorine: An In-Depth Look
Chlorine is a vital component of swimming pool maintenance, as it serves as a disinfectant to keep the water clean and free of harmful bacteria and algae. However, there may
Natural Ways to Banish Algae from Your Home Swimming Pool
Maintaining a clean and clear swimming pool is a top priority for pool owners, but not everyone is keen on using chemicals to achieve this goal. Fortunately, there are several