How to Identify and Resolve Pool pH and Alkalinity Problems
Maintaining a balanced water chemistry in your swimming pool is crucial for ensuring a safe and pleasant swimming environment. Two key elements to monitor and regulate are pH and alkalinity
A Comprehensive Guide to Leveling an Above Ground Pool: Steps, Tips, and Tools
An above ground pool is an excellent addition to any backyard, providing a fun and refreshing way to cool off during the hot summer months. However, proper installation is crucial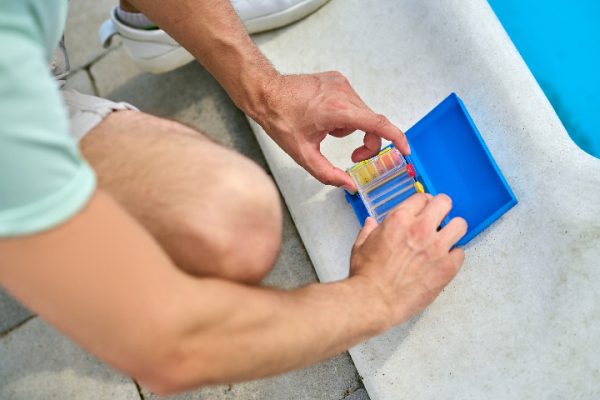
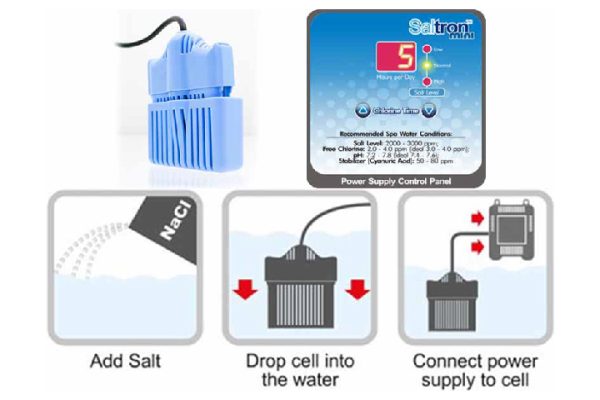
Reasons Why Your Pool Has No Chlorine: An In-Depth Look
Chlorine is a vital component of swimming pool maintenance, as it serves as a disinfectant to keep the water clean and free of harmful bacteria and algae. However, there may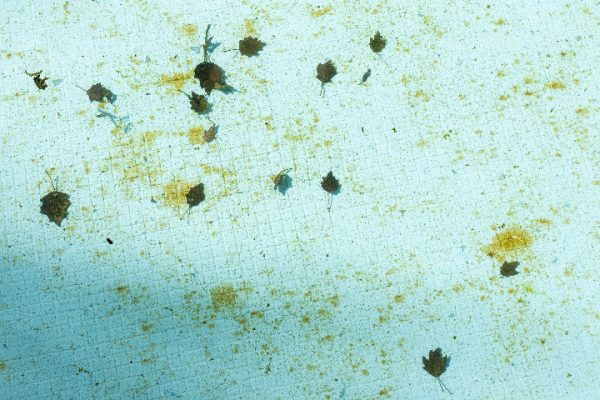
Natural Ways to Banish Algae from Your Home Swimming Pool
Maintaining a clean and clear swimming pool is a top priority for pool owners, but not everyone is keen on using chemicals to achieve this goal. Fortunately, there are several
Clearing Cloudy Pool Water Fast: A 72-Hour Guide to Crystal Clear Water
Quick and Effective Steps to Transform Your Pool from Cloudy to Sparkling Introduction Cloudy pool water is a common issue faced by many pool owners. It can be caused by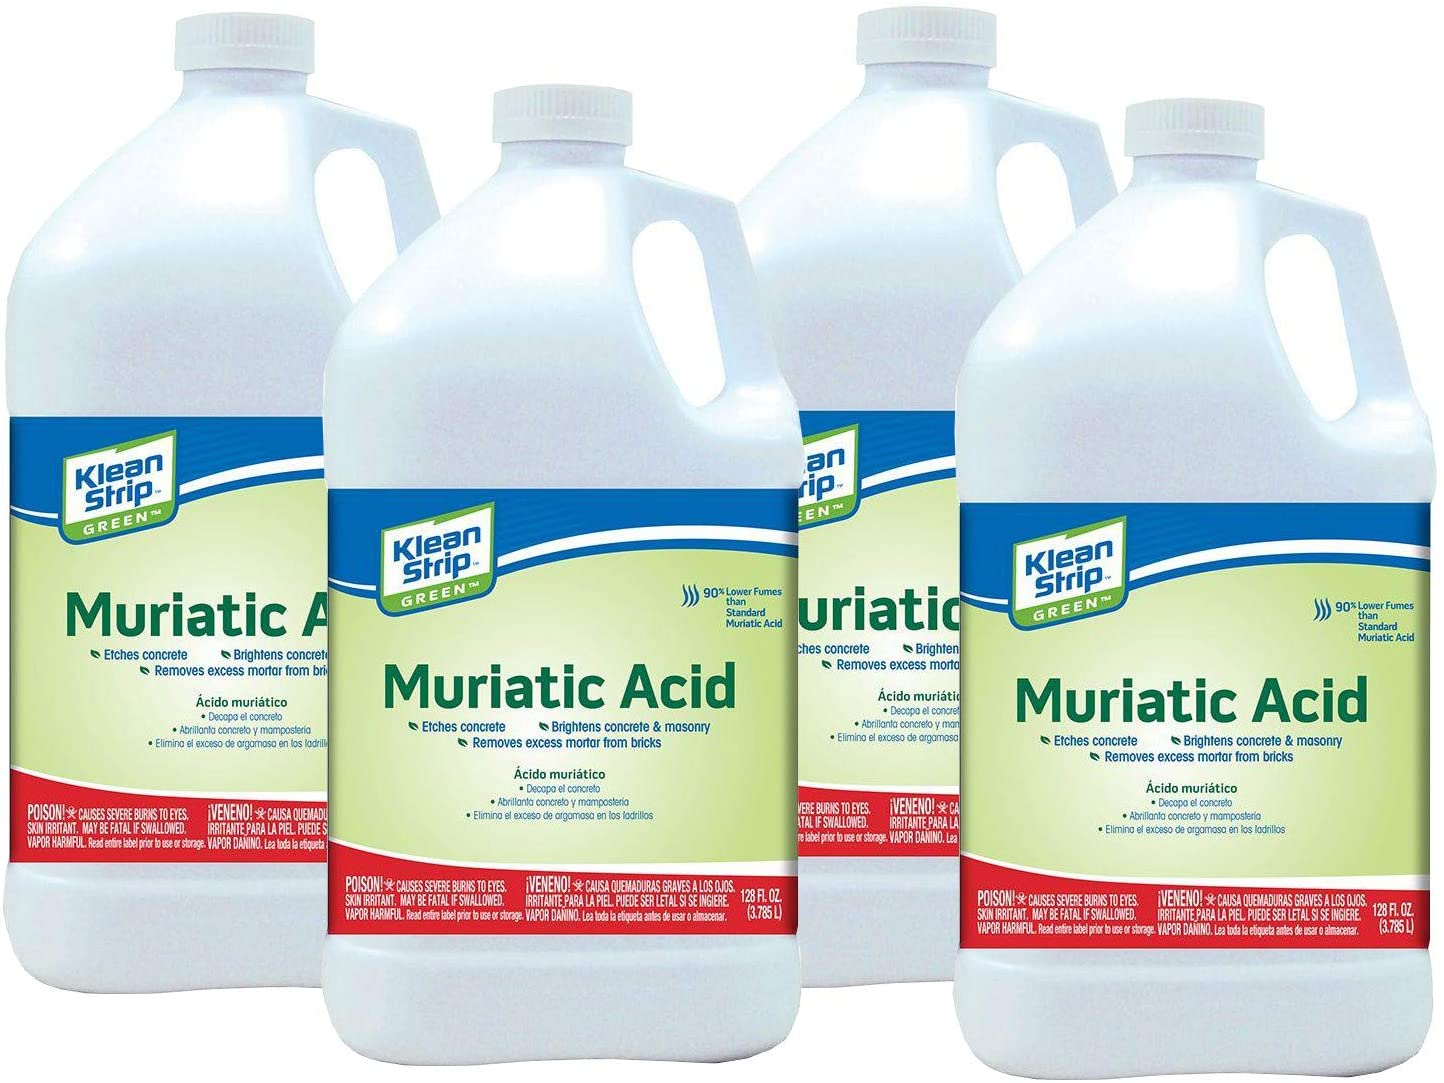
Muriatic Acid in Swimming Pools: Uses, Applications, and Best Practices
Discover the Role of Muriatic Acid in Maintaining a Safe and Balanced Pool Environment Introduction Muriatic acid, also known as hydrochloric acid, is a powerful and versatile chemical often used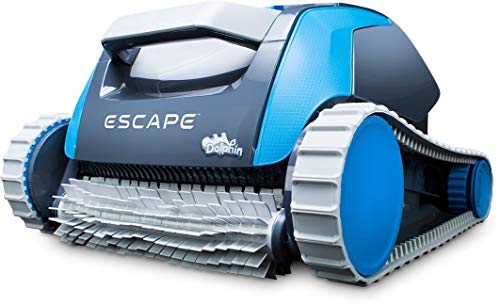
A Comprehensive Guide to Pool Vacuums: Types, Functionality, and Usage
Exploring Different Types of Pool Vacuums, How They Operate, and Best Practices for Optimal Pool Cleaning Introduction Maintaining a clean and debris-free swimming pool is essential for a healthy and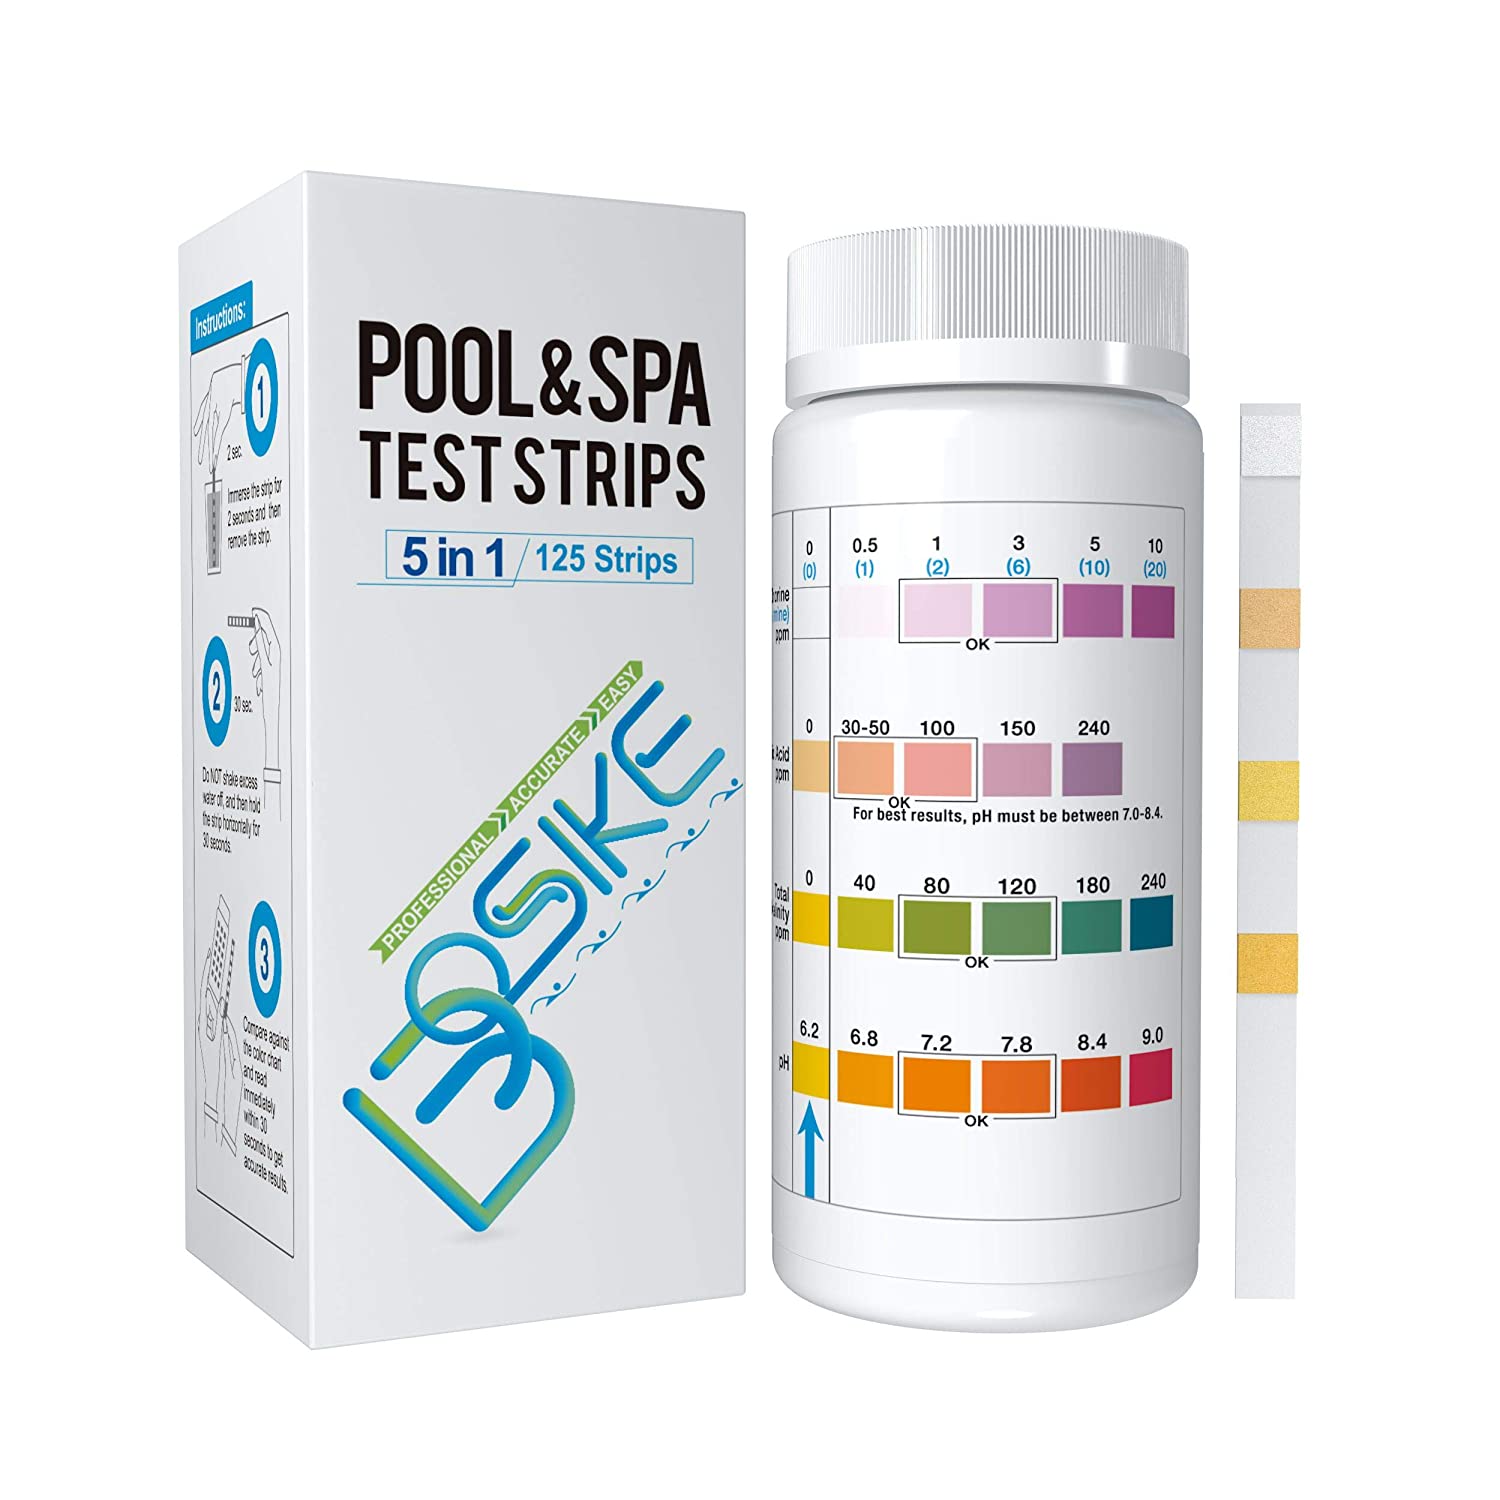
How to Lower pH in a Swimming Pool: A Comprehensive Guide for Pool Owners
Achieve the Ideal pH Balance for a Healthy and Comfortable Swimming Experience Introduction Maintaining the correct pH level in your swimming pool is essential for ensuring a comfortable swimming experience,