How to Lower pH in a Swimming Pool: A Comprehensive Guide for Pool Owners
Achieve the Ideal pH Balance for a Healthy and Comfortable Swimming Experience
Quick answer
How to Lower pH in a Swimming Pool: A Comprehensive Guide for Pool Owners: Achieve the Ideal pH Balance for a Healthy and Comfortable Swimming Experience Introduction Maintaining the correct pH level in your swimming pool is essential for ensuring a comfortable swimming experience, protecting.
Introduction
Maintaining the correct pH level in your swimming pool is essential for ensuring a comfortable swimming experience, protecting pool equipment, and promoting effective sanitization. The pH scale ranges from 0 to 14, with 7 being neutral. The optimal pH level for a swimming pool is generally between 7.2 and 7.8. If your pool’s pH is too high, it can lead to issues such as scaling, cloudy water, and reduced effectiveness of sanitizing chemicals. This article will provide you with a comprehensive guide on how to lower the pH level in your swimming pool to achieve a well-balanced and healthy swimming environment.
Step 1: Test Your Pool Water
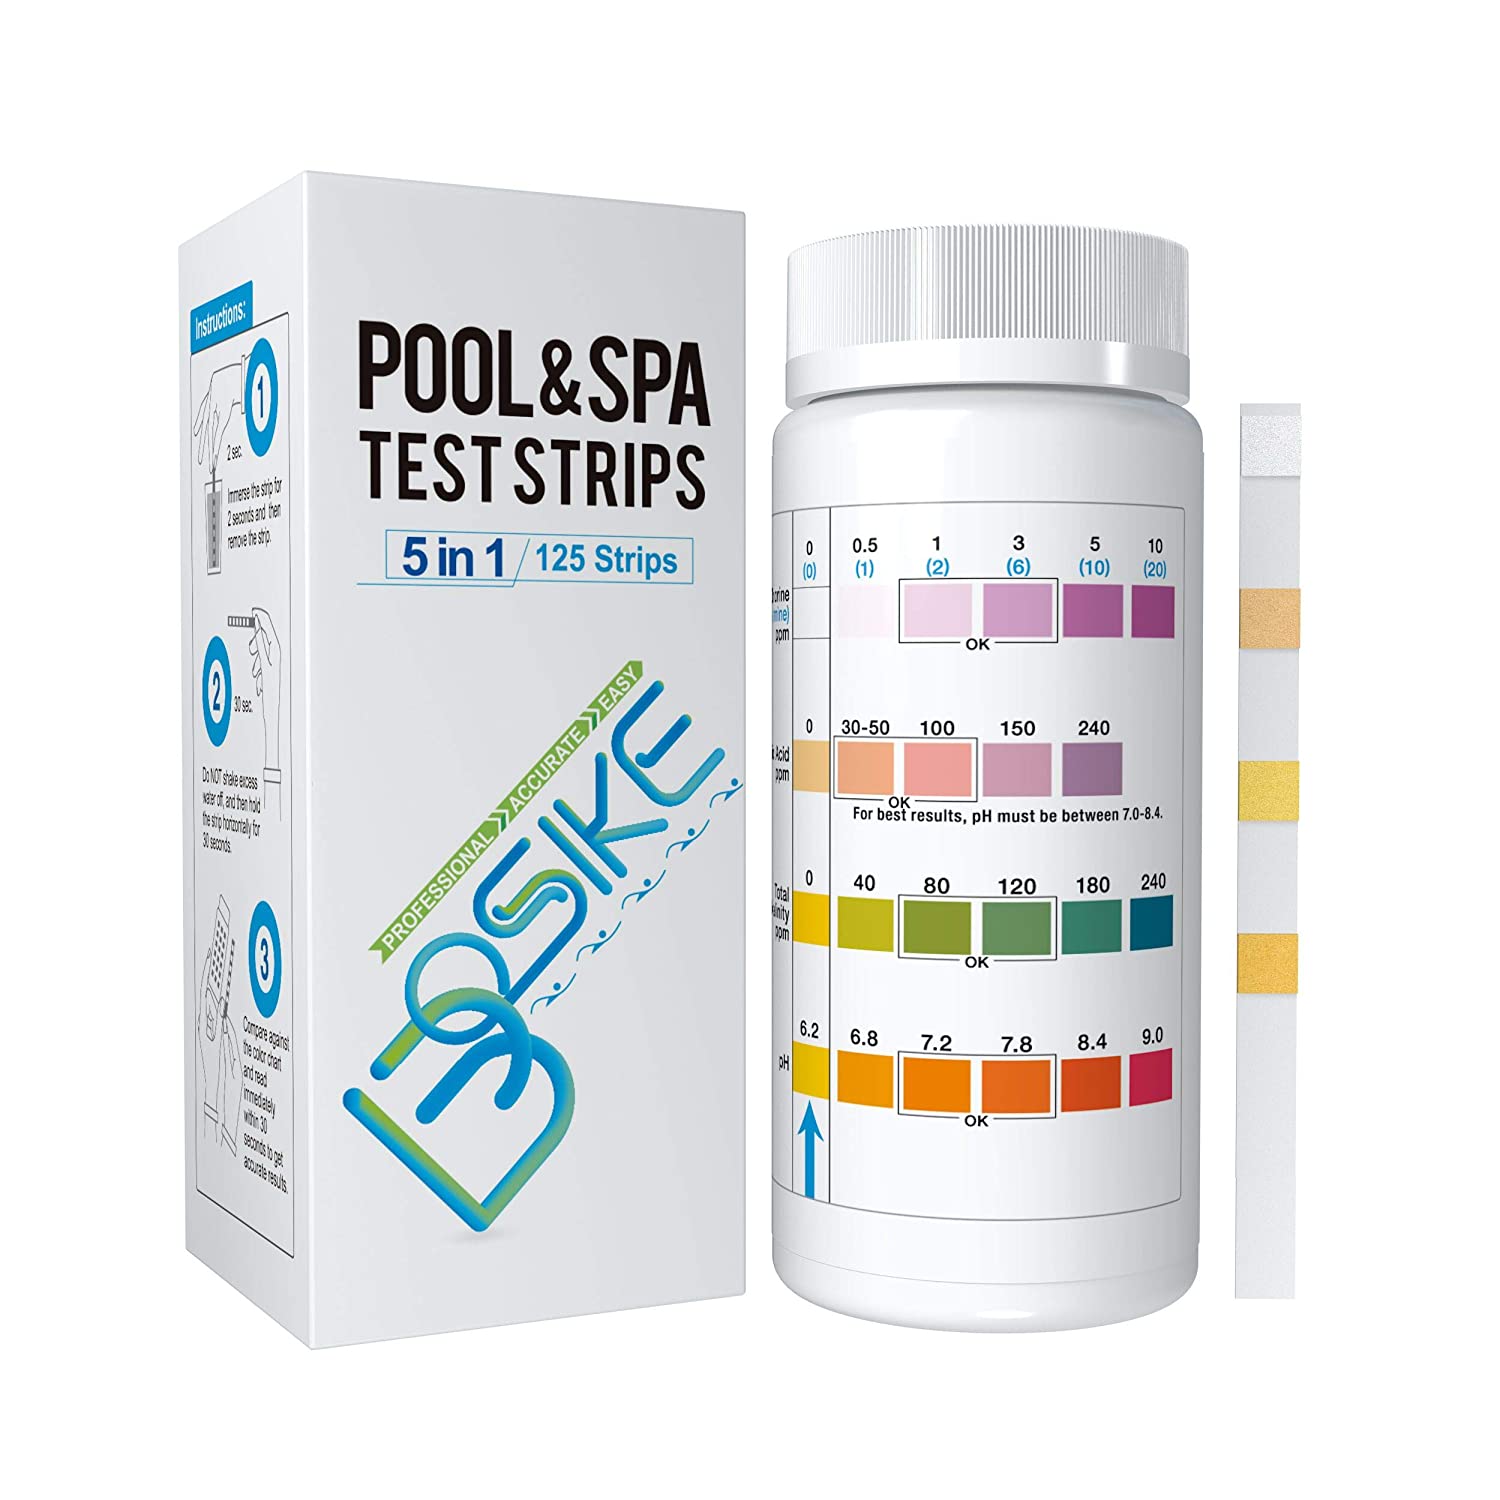
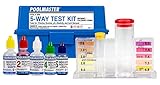
Begin by testing your pool water to determine the current pH level. You can use a pool test kit or test strips, which are readily available at most pool supply stores. Follow the instructions provided with your testing method to obtain accurate results.
Step 2: Calculate the Required pH Reducer Amount
If your pH level is above 7.8, you will need to add a pH reducer (also known as a pH down or pH minus) to lower the pH. Muriatic acid (hydrochloric acid) and sodium bisulfate are two common chemicals used as pH reducers.
To calculate the amount of pH reducer required, consult the product label or use an online pool calculator. You will need to know your pool’s volume, the current pH level, and the target pH level.
Step 3: Pre-dilute the pH Reducer
To ensure even distribution and prevent damage to your pool surfaces, pre-dilute the pH reducer in a bucket of water before adding it to your pool. Fill a large plastic bucket with water, and gradually add the required amount of pH reducer, stirring continuously.
Step 4: Add the pH Reducer to Your Pool
Slowly pour the diluted pH reducer solution into the pool, spreading it evenly around the perimeter. Avoid pouring the solution directly onto pool surfaces or fittings, as this may cause damage.
Step 5: Circulate the Pool Water
Turn on your pool pump and allow it to circulate the water for at least 2-4 hours. This will help to distribute the pH reducer evenly throughout the pool, ensuring the pH level is lowered consistently.
Step 6: Retest and Adjust as Needed
After the pool water has circulated for a sufficient time, retest the pH level using your pool test kit or test strips. If the pH level is still above the ideal range, repeat Steps 2-5, adding more pH reducer as necessary. Keep in mind that it’s better to make gradual adjustments to avoid undershooting the target pH level.
Conclusion
Maintaining the optimal pH level in your swimming pool is vital for a healthy and enjoyable swimming environment. By following this comprehensive guide on how to lower the pH in your swimming pool, you can ensure the comfort of swimmers, protect your pool equipment, and maximize the effectiveness of your sanitizing chemicals. Regular testing and adjustments are key to maintaining a well-balanced and inviting pool for you and your family to enjoy.
Recommended Products
- Taylor K-2006 Complete Test Kit
- AquaChek 7-Way Test Strips
- In The Swim 3-Inch Chlorine Tablets
- In The Swim Chlorine Pool Shock
- Liquid Chlorine
- Clorox Pool&Spa pH Down
As an Amazon Associate, we earn from qualifying purchases.
As an Amazon Associate, Pool Chemical Calculator earns from qualifying purchases. Accurate readings make every chlorine, pH, alkalinity, calcium, and CYA dose safer. Lowers high pH and helps bring alkalinity down when used carefully. Slow-dissolving tablets help keep routine free chlorine steady.
Recommended pool supplies


Get exact pool chemical doses
Pool Chemical Calculator turns your test readings, pool volume, and target levels into exact treatment amounts for chlorine, pH, alkalinity, calcium, stabilizer, salt, and more.
Open the Pool Chemical Calculator app or download it from the App Store and Google Play.
Related posts:
 Comparing Pool Sanitation Options: Pros and Cons of Saltwater, Chlorine, UV, Ozone and Other Alternatives
 Pool Algaecides and Algae Control Methods: The Facts You Need to Know
 Salt Water Pool Maintenance: Complete Guide for Crystal-Clear Water
 Cyanuric Acid: A First-Time Above Ground Pool Owner’s Guide